
Webshots
Use Webshots to securely display real-time content from the web
The TelemetryTV Webshots feature allows users to capture web content and display it as a page on their playlist. This feature is particularly useful for automating login processes to access secure, real-time web content and customizing the size of the capture window for live websites.
Webshots operate as a client-based solution, utilizing the TelemetryTV Desktop App to record complex browser-based user flows. This includes interactions such as scrolling, window resizing, and multi-step actions. The recorded events are automated and executed through the Desktop App, then uploaded as screenshots to TelemetryTV's content servers. These screenshots are subsequently streamed to signage players at specified time intervals. This approach provides enhanced access to websites, including those hosted on intranets, while ensuring data security and sovereignty.
Please Note
To push Webshots to your screens, you must have the TelemetryTV Desktop App running on a computer. It is recommended to use a dedicated computer with the Desktop App constantly running to maintain consistent Webshots across all signage screens.
How to Capture Webshots in TelemetryTV:
To capture Webshots and store them on TelemetryTV's content servers, follow these steps using the TelemetryTV Desktop App:
- Log in to your TelemetryTV Desktop App.
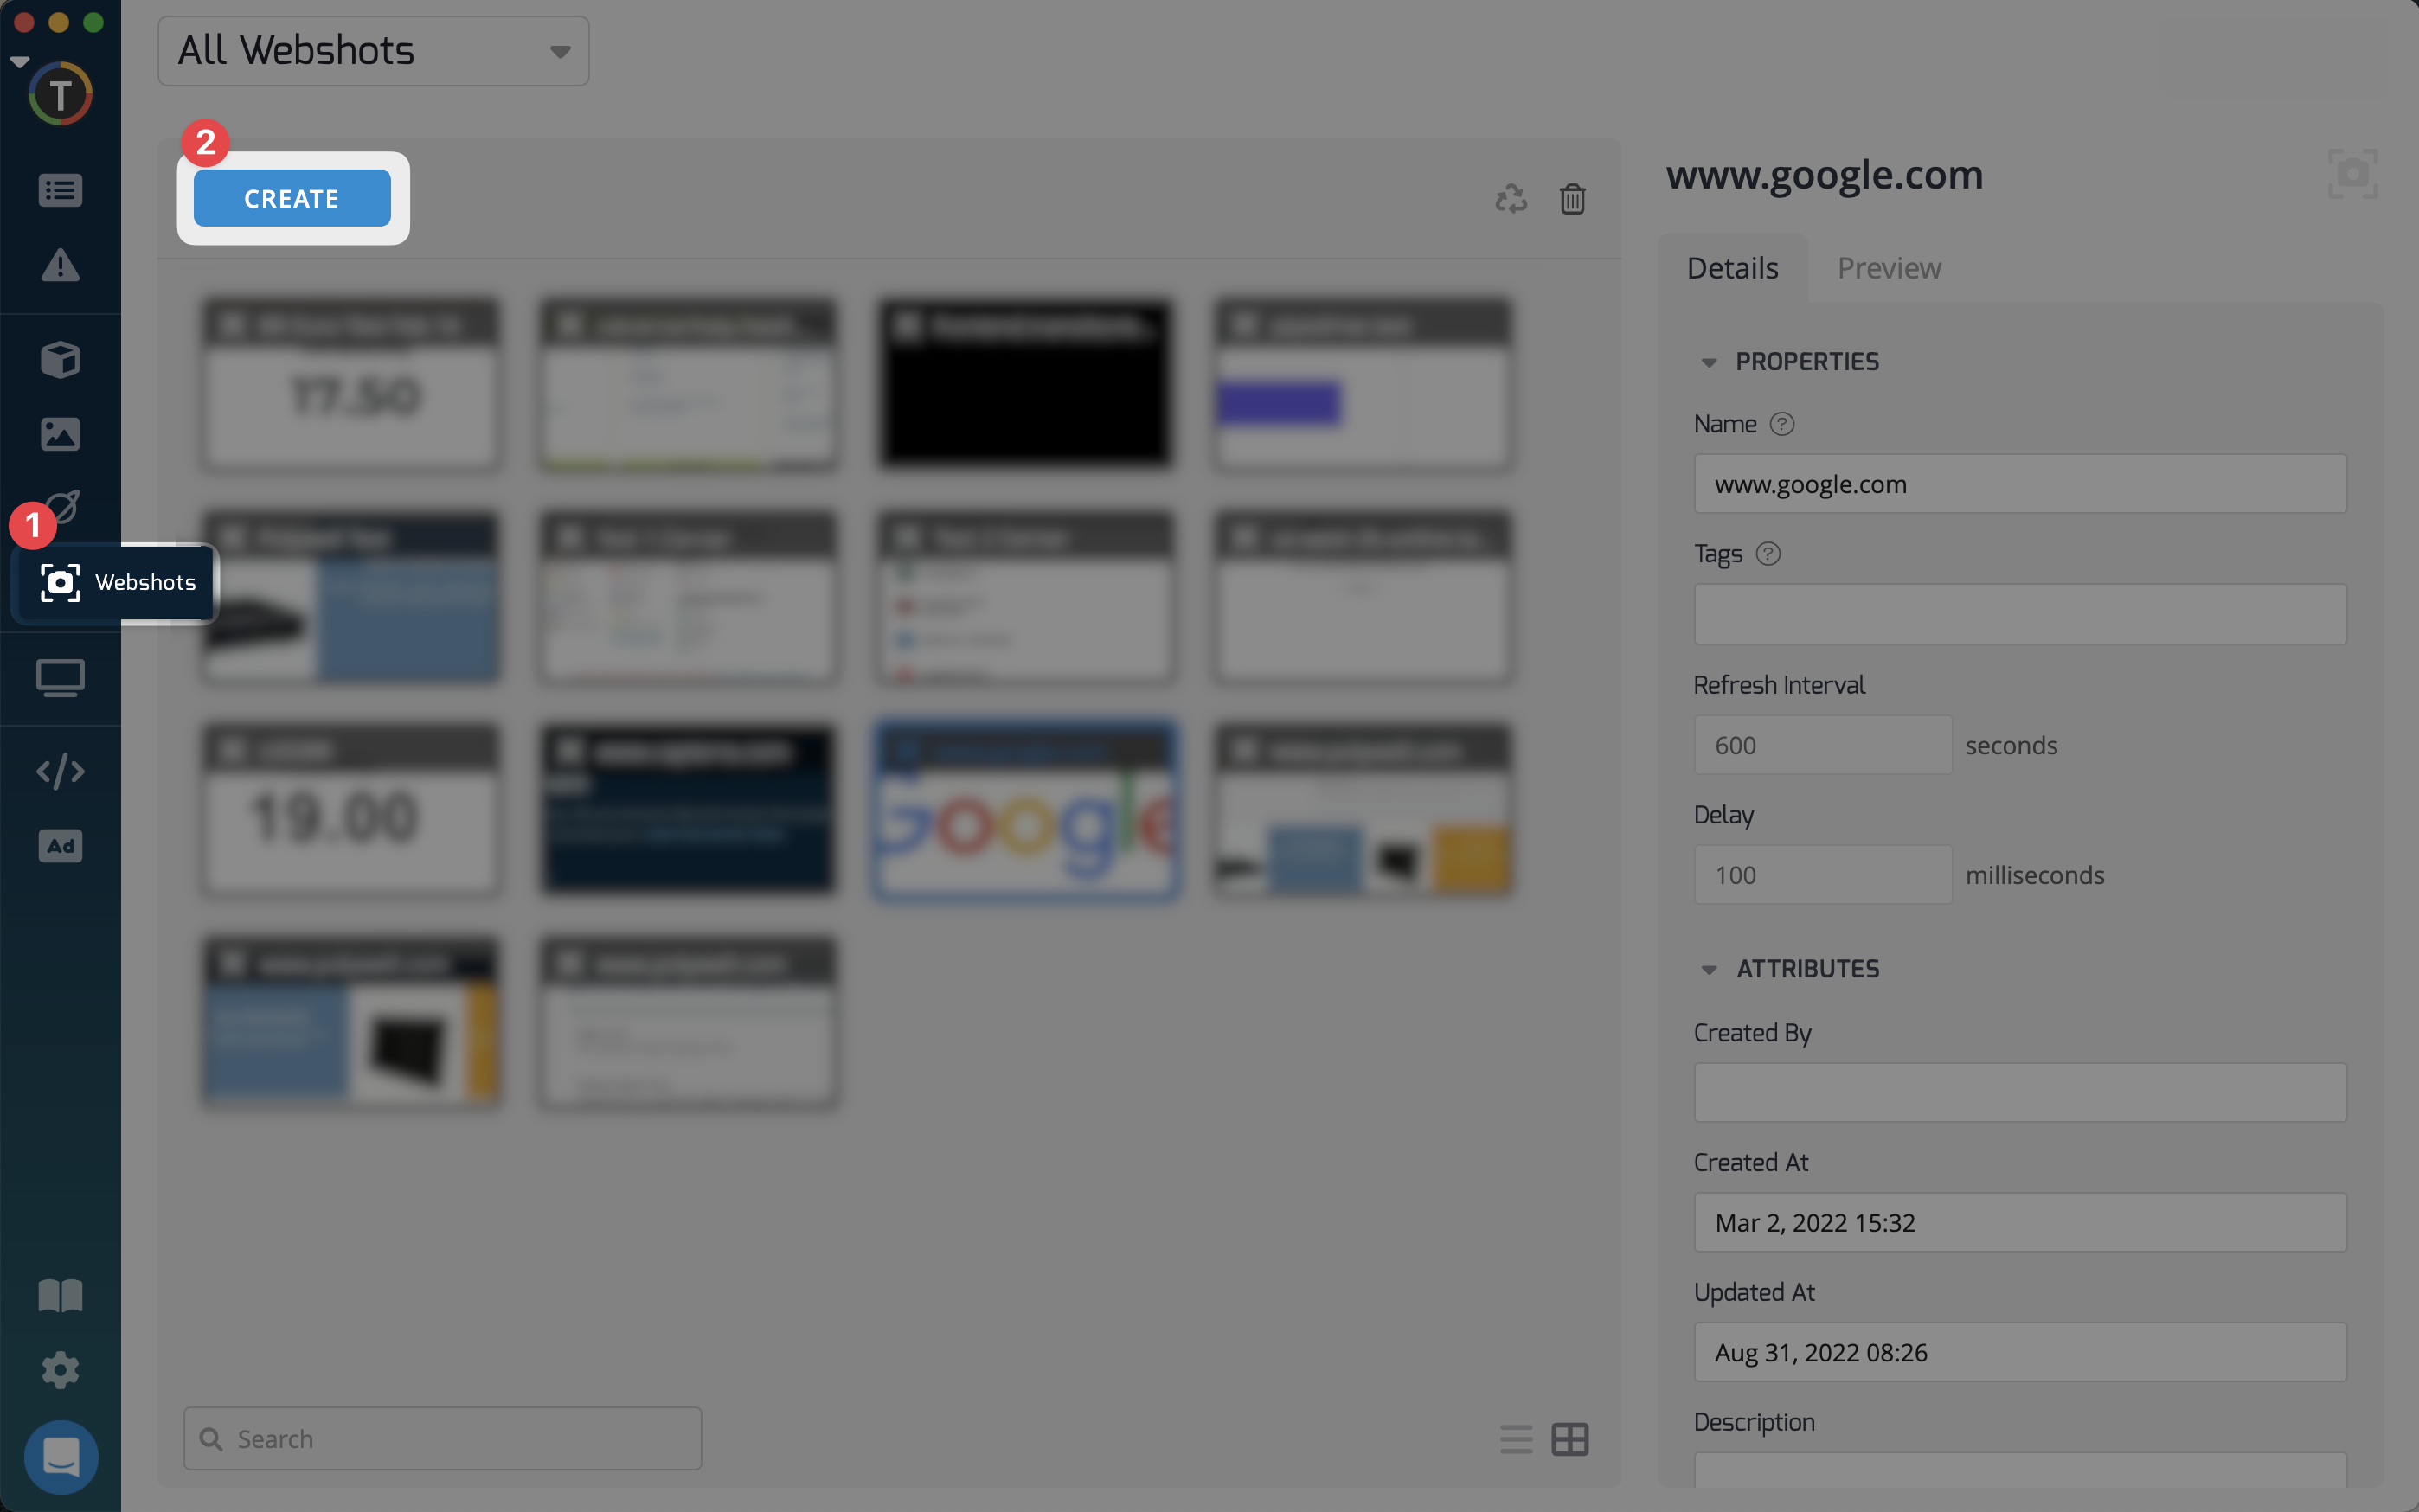
- Select "Webshots" on the left-hand toolbar and click "Create Webshot".
- Enter the URL of the site you want to capture in the designated field.
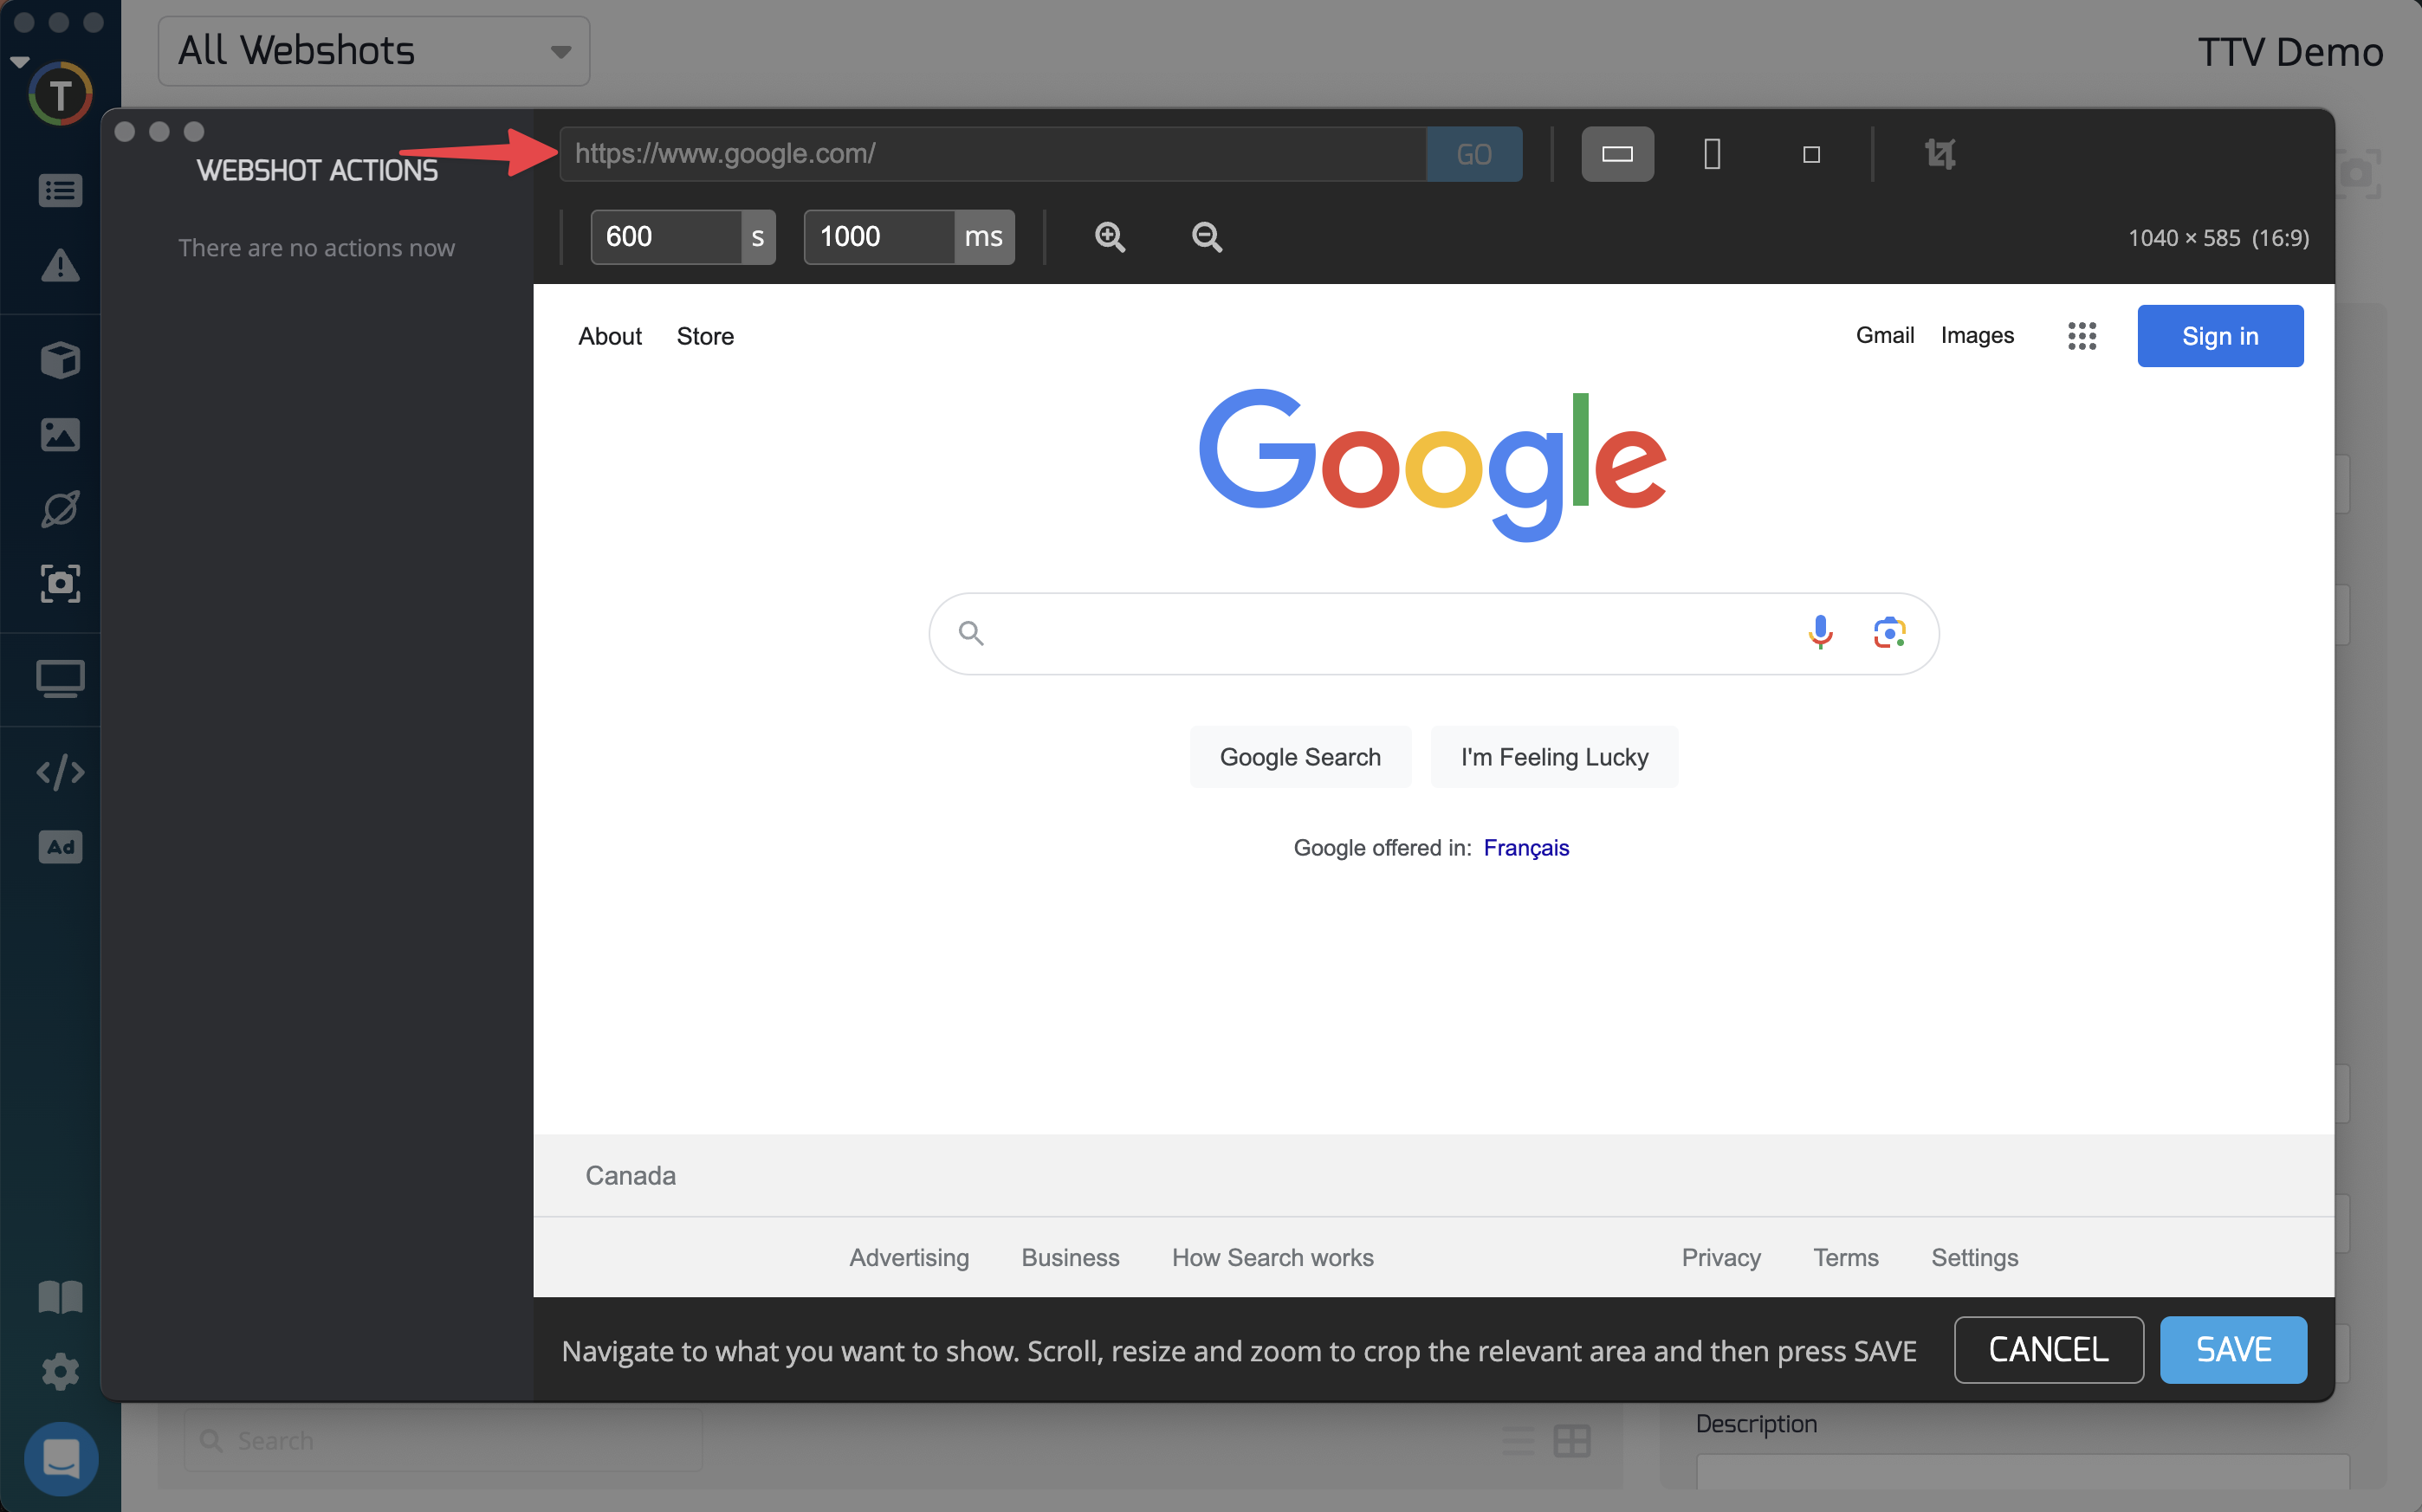
Optional: Enter your login and password information if required.
Authentication Security
All account information and passwords entered into Webshots are encrypted and stored locally on your device. They cannot be accessed by any other devices.
Configuring your Webpage:
- Capture Interval: Choose the frequency at which the app updates the screenshot on the servers (in milliseconds). The minimum refresh interval is 10,000 milliseconds (10 seconds).
- Delay: Specify a delay, if needed, to ensure proper page display. Set the desired second and millisecond values at the top of the capture window. The app will wait the specified amount of time after the page loads before capturing the image.

- Zoom: Use the "+" and "-" symbols to zoom in or out on your webpage for capture.
- Cropping: Configure the shape of the browser view by cropping, scaling, or scrolling. Note the dimensions displayed in the top right corner. You can adjust the dimensions by resizing the Webshots window.
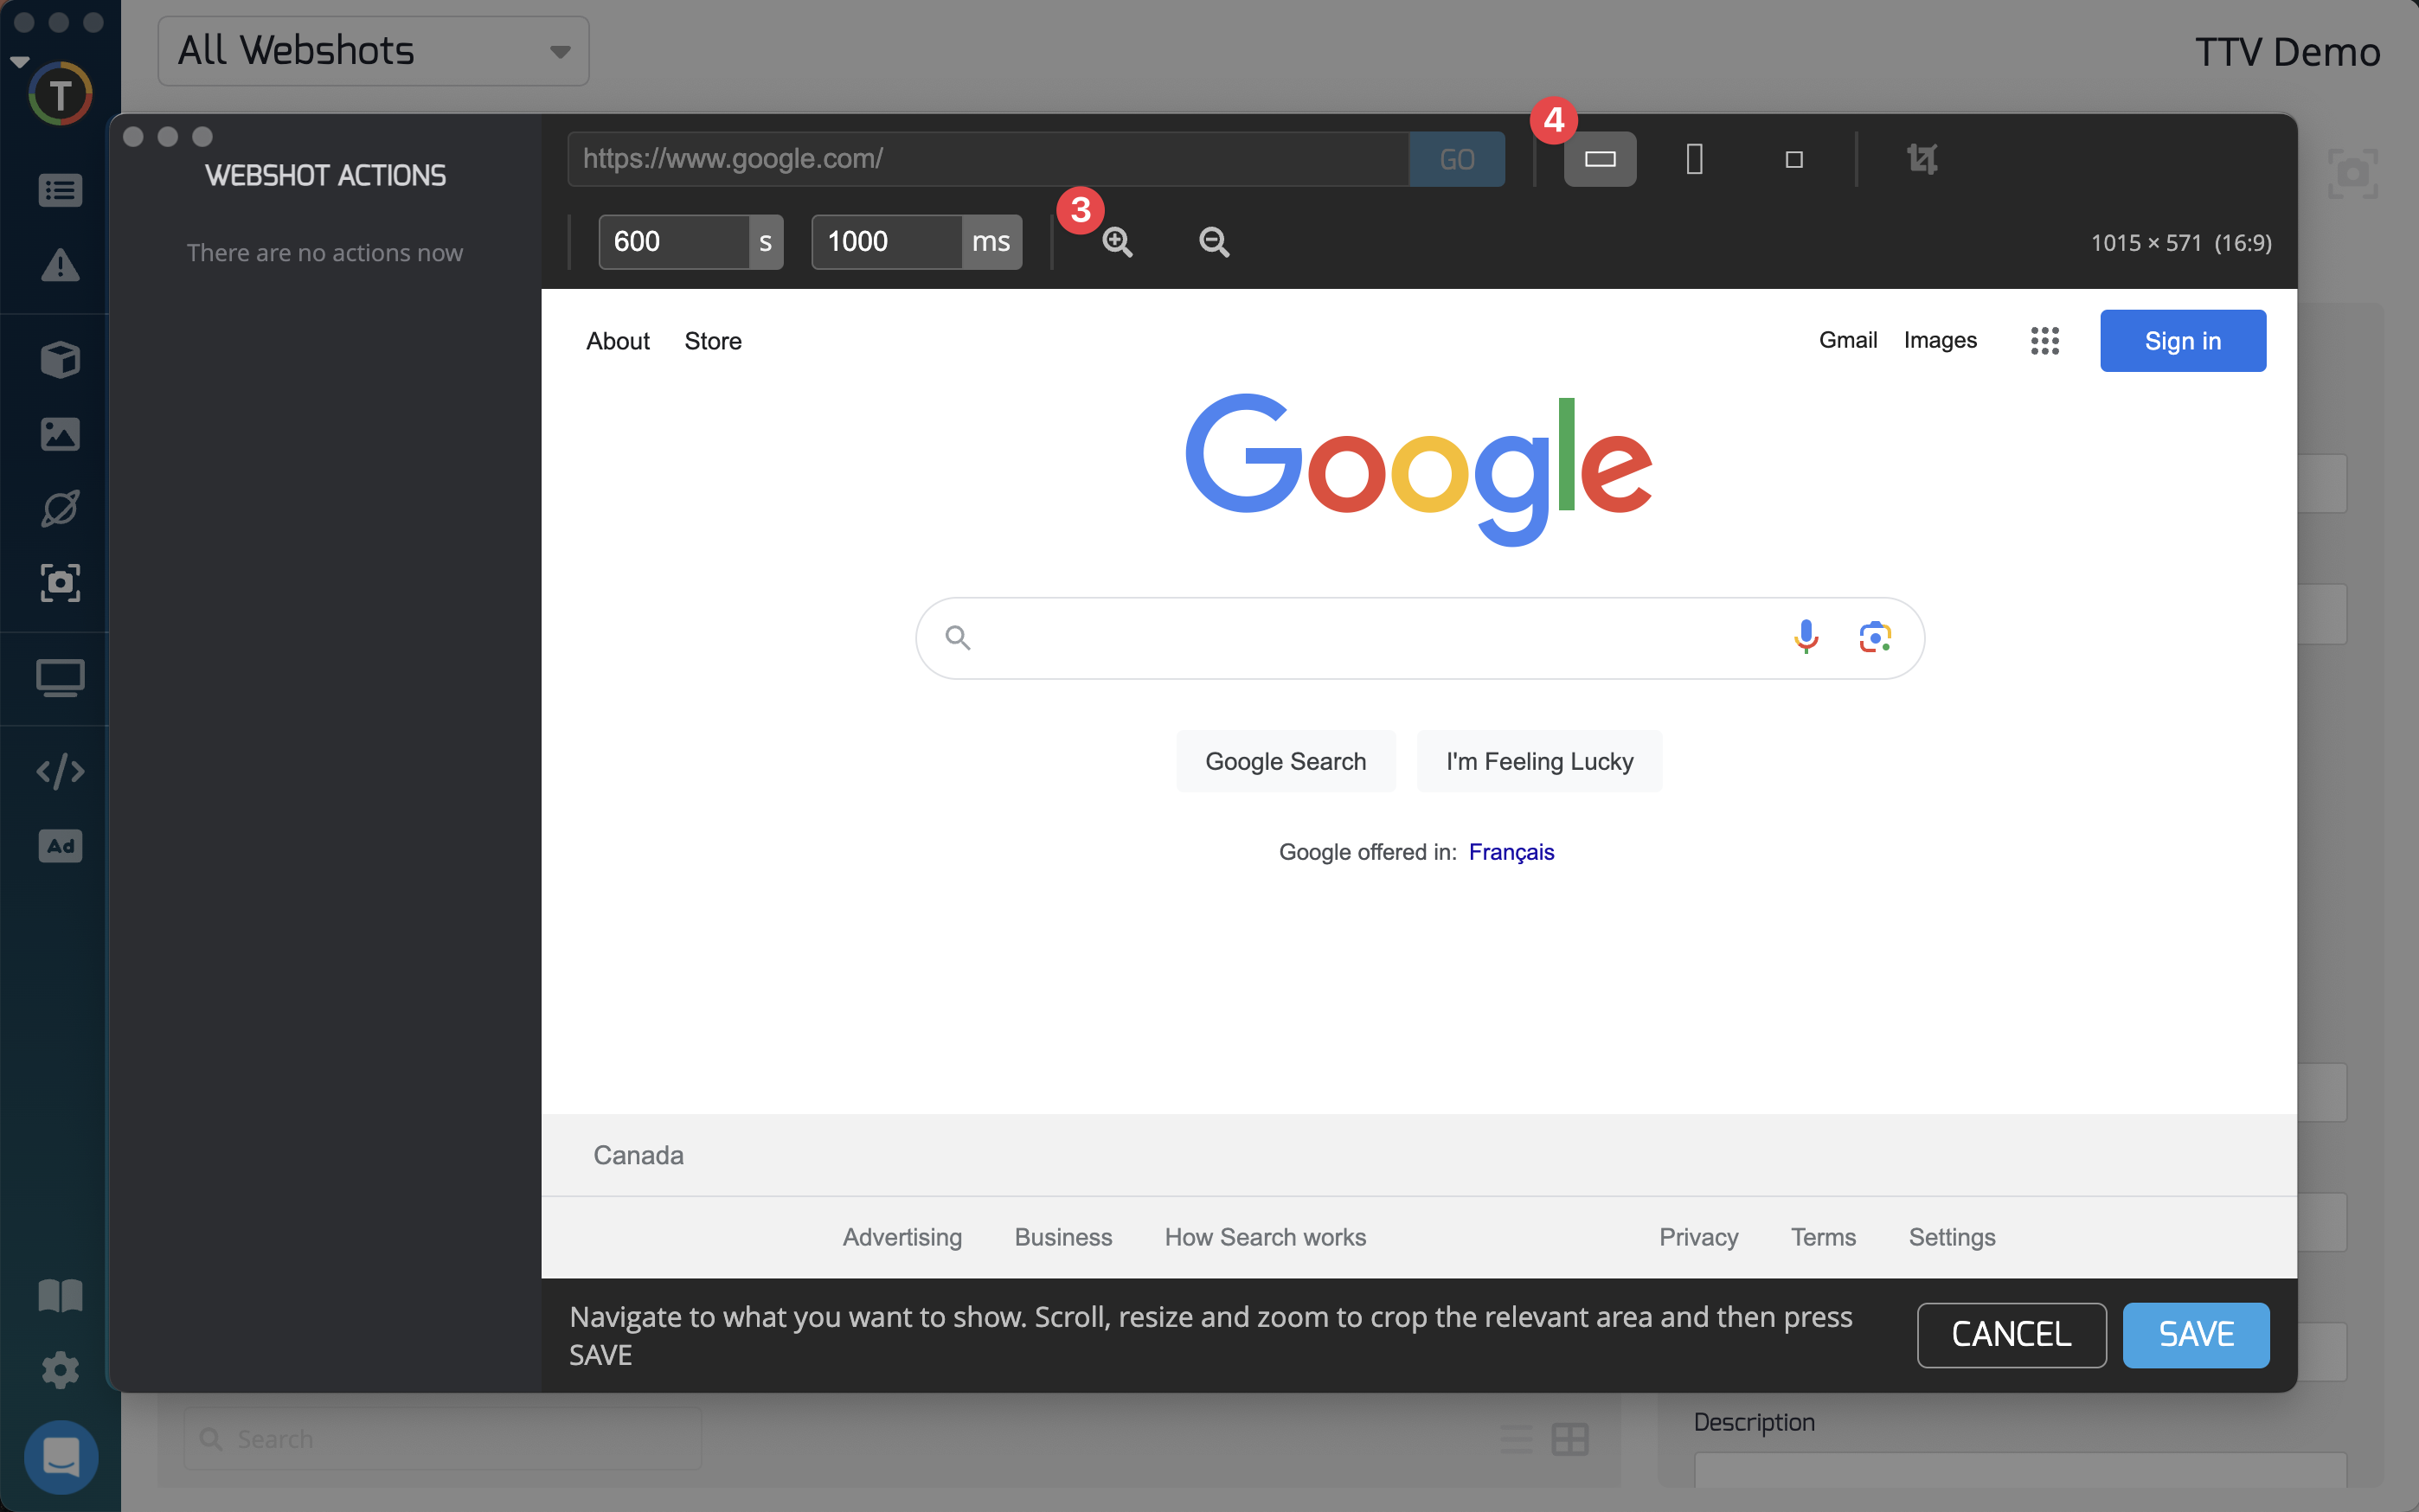
Click "Save" to record the sequence of events and send the captured image to the servers. Alternatively, if cropping, use the square freeform icon and scissor icon to crop the page as desired.
Using Webshot Actions:
Webshots Actions operate as an extension of the TelemetryTV Desktop App. When you interact with the Webshots window—be it scrolling down a page, clicking a button, or navigating to a different URL—these actions are actively tracked. Once recorded, these actions are not just static screenshots; they are dynamic sequences that will be executed in real-time on all other devices displaying this content.
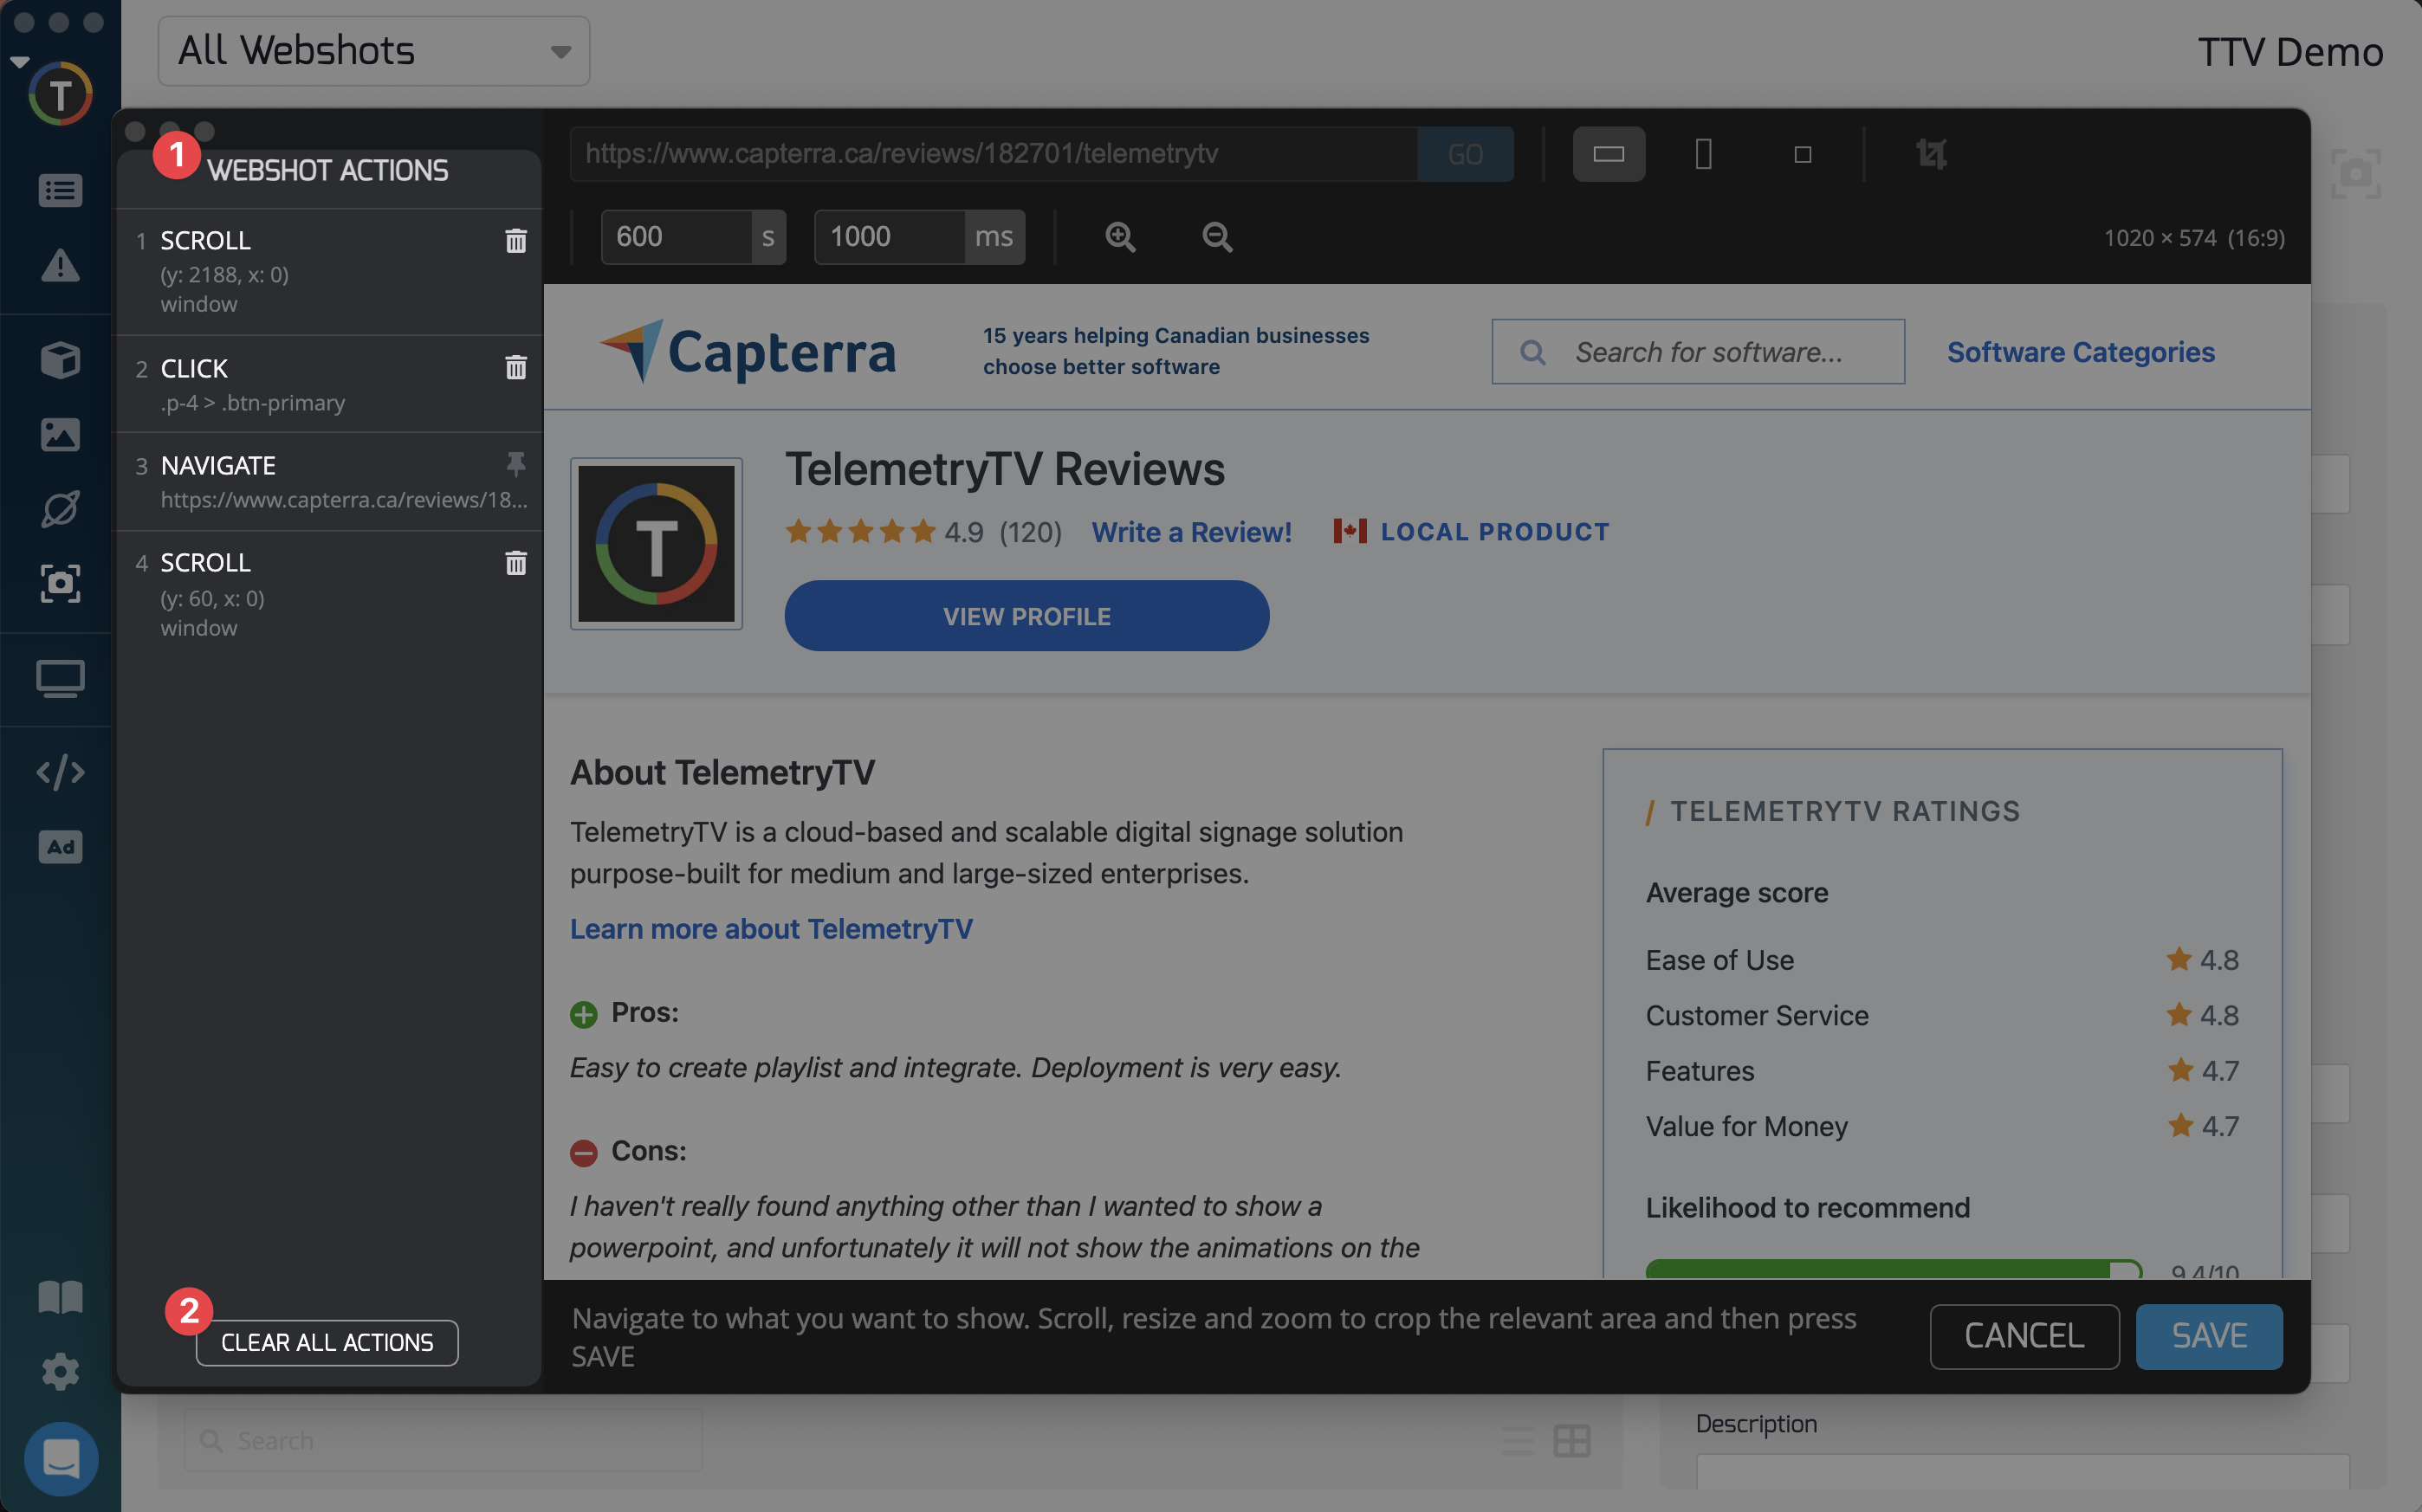
The example abode demonstrates some of the supported actions that Webshots can replicate:
- Scroll: Automatically scroll down or up on a webpage.
- Click: Simulate mouse clicks on webpage elements like buttons or links.
- Navigate: Move to different URLs or webpage sections.
Adding Webshots to your Playlist:
- Navigate to "Playlists".
- Add a new slide to your playlist.
- Select "Webshots".
- Choose the desired Webshots from the gallery.
- Click "ADD 1 ITEM".
The Webshots will now be periodically sent from your Desktop App to your Media Players.
Advanced Use Cases
This is an example of a simple use case for the Webshots app. More complex examples may involve browser scrolling, inputting form details (such as passwords), and website navigation. All these events should be recorded, stored locally on your Desktop App, and executed when logged into the app.
Identifying Active Webshots:
In the Webshots interface, icons indicate the status of the PC on which the Webshots were set up. An active Webshot will continuously update, while an inactive one will display the last captured screenshot.
Updated 7 months ago