
Scheduling
Scheduling playlists and pages
Scheduling playlists or playlist pages in TelemetryTV allows you to display content at specific times or on specific days. Whether you need to show a closure message at a certain time or display different menu items on different days of the week, the scheduling feature gives you the flexibility to customize your playlists.
Scheduling a Playlist Page
- Select the page you want to schedule from your playlist.
- Open the "Scheduling" tab on the upper toolbar.
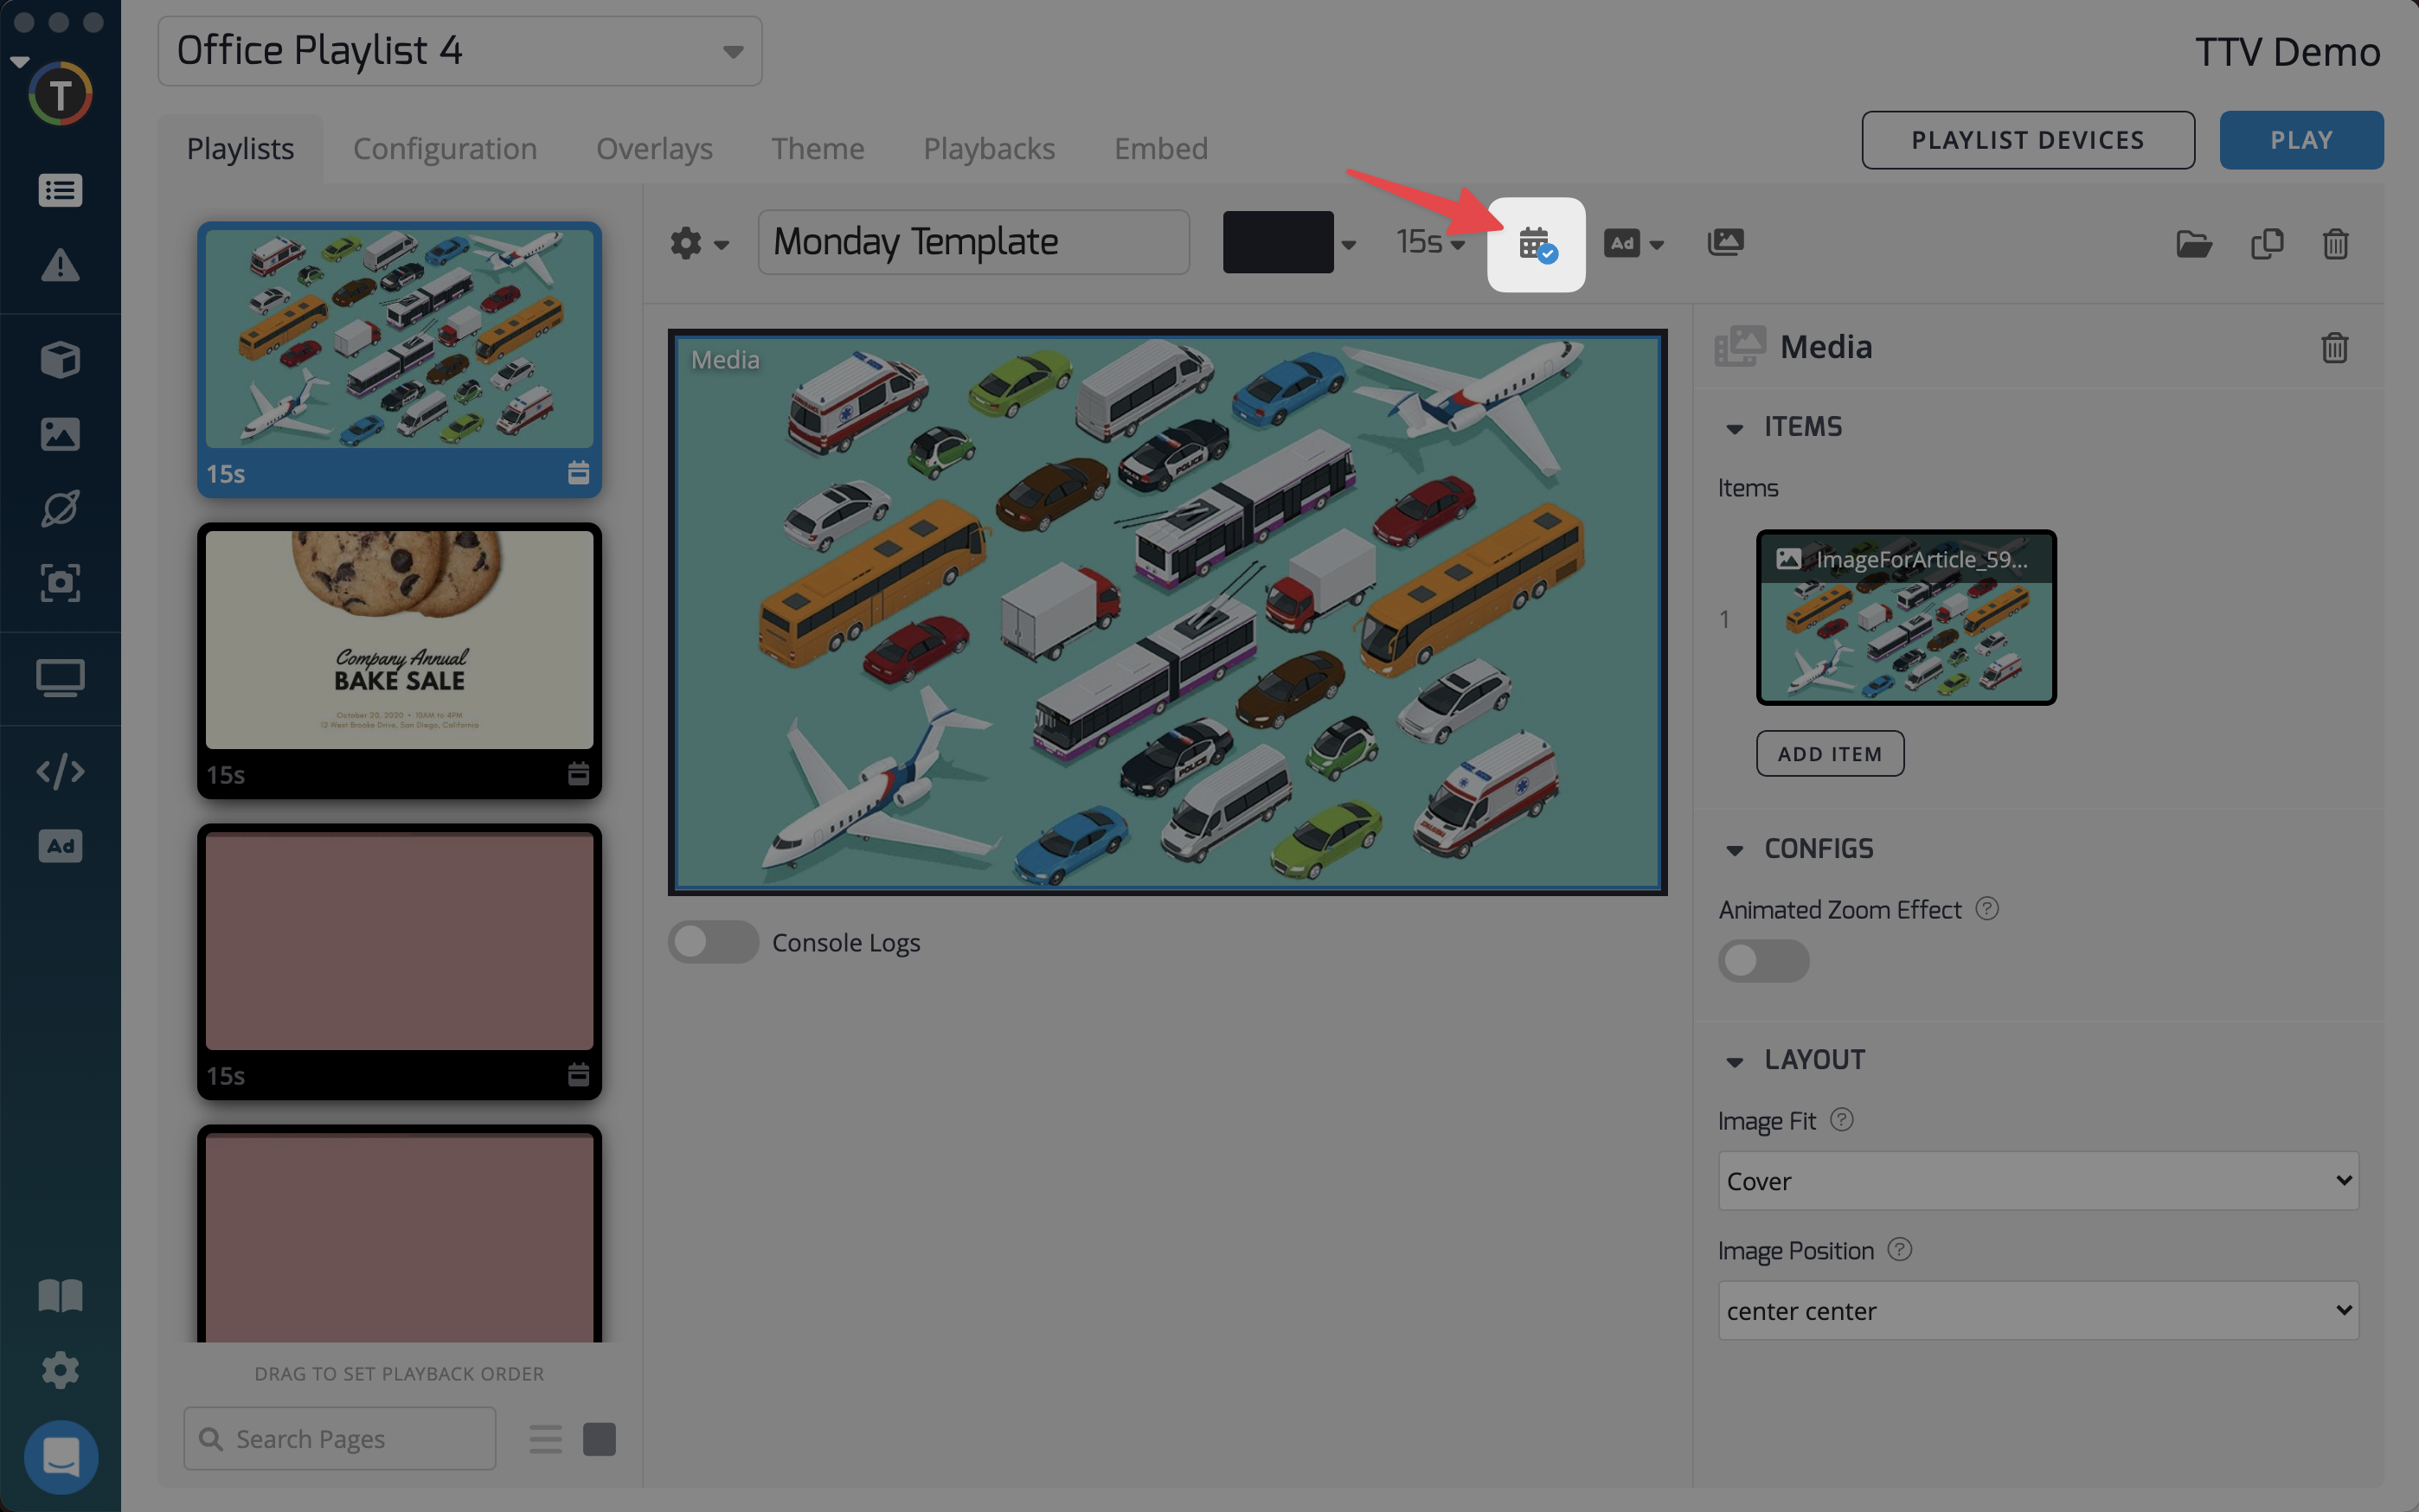
- Choose the options you want for this page.
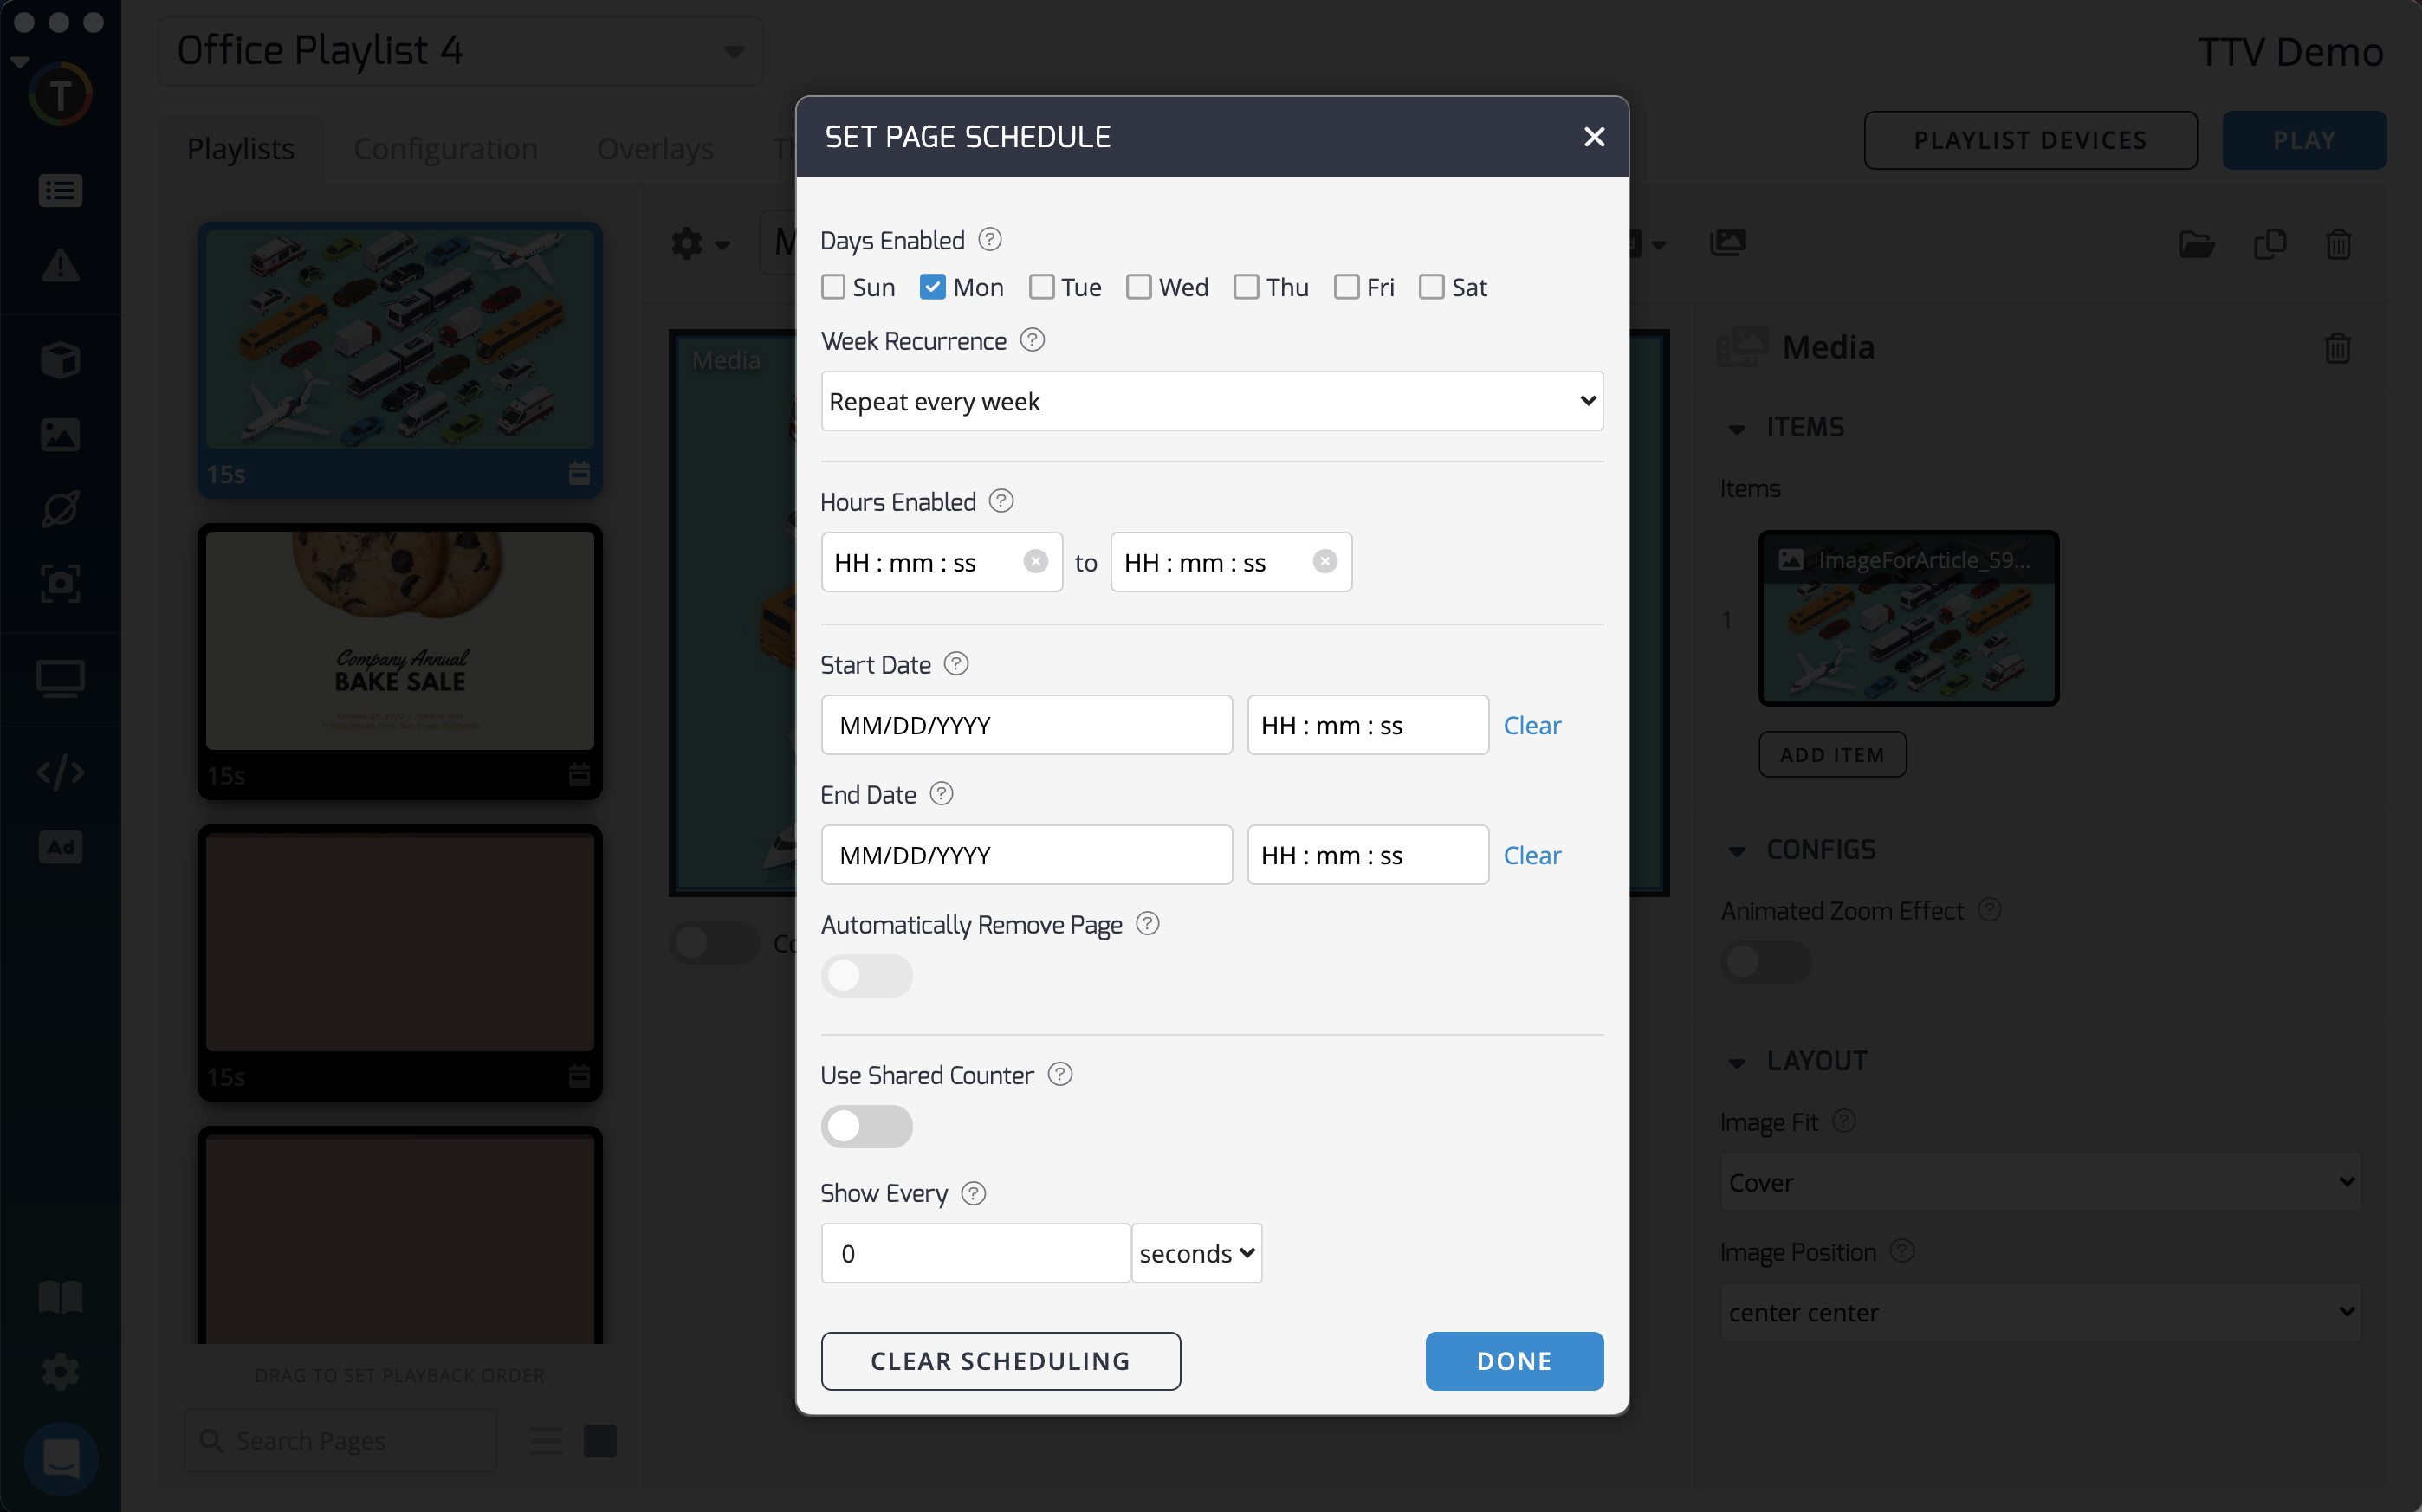
Days enabled: Specify the days of the week when the page should be displayed.
Hours enabled: Set the time frame during which the page should be played.
Start and end dates: If you only want the page to play during a specific date period, set the start and end dates.
Show every: Define a minimum time interval between showing this page. For example, if you set it to 5 minutes and your playlist cycles through in 3 minutes, the page will be skipped until 5 minutes have passed.
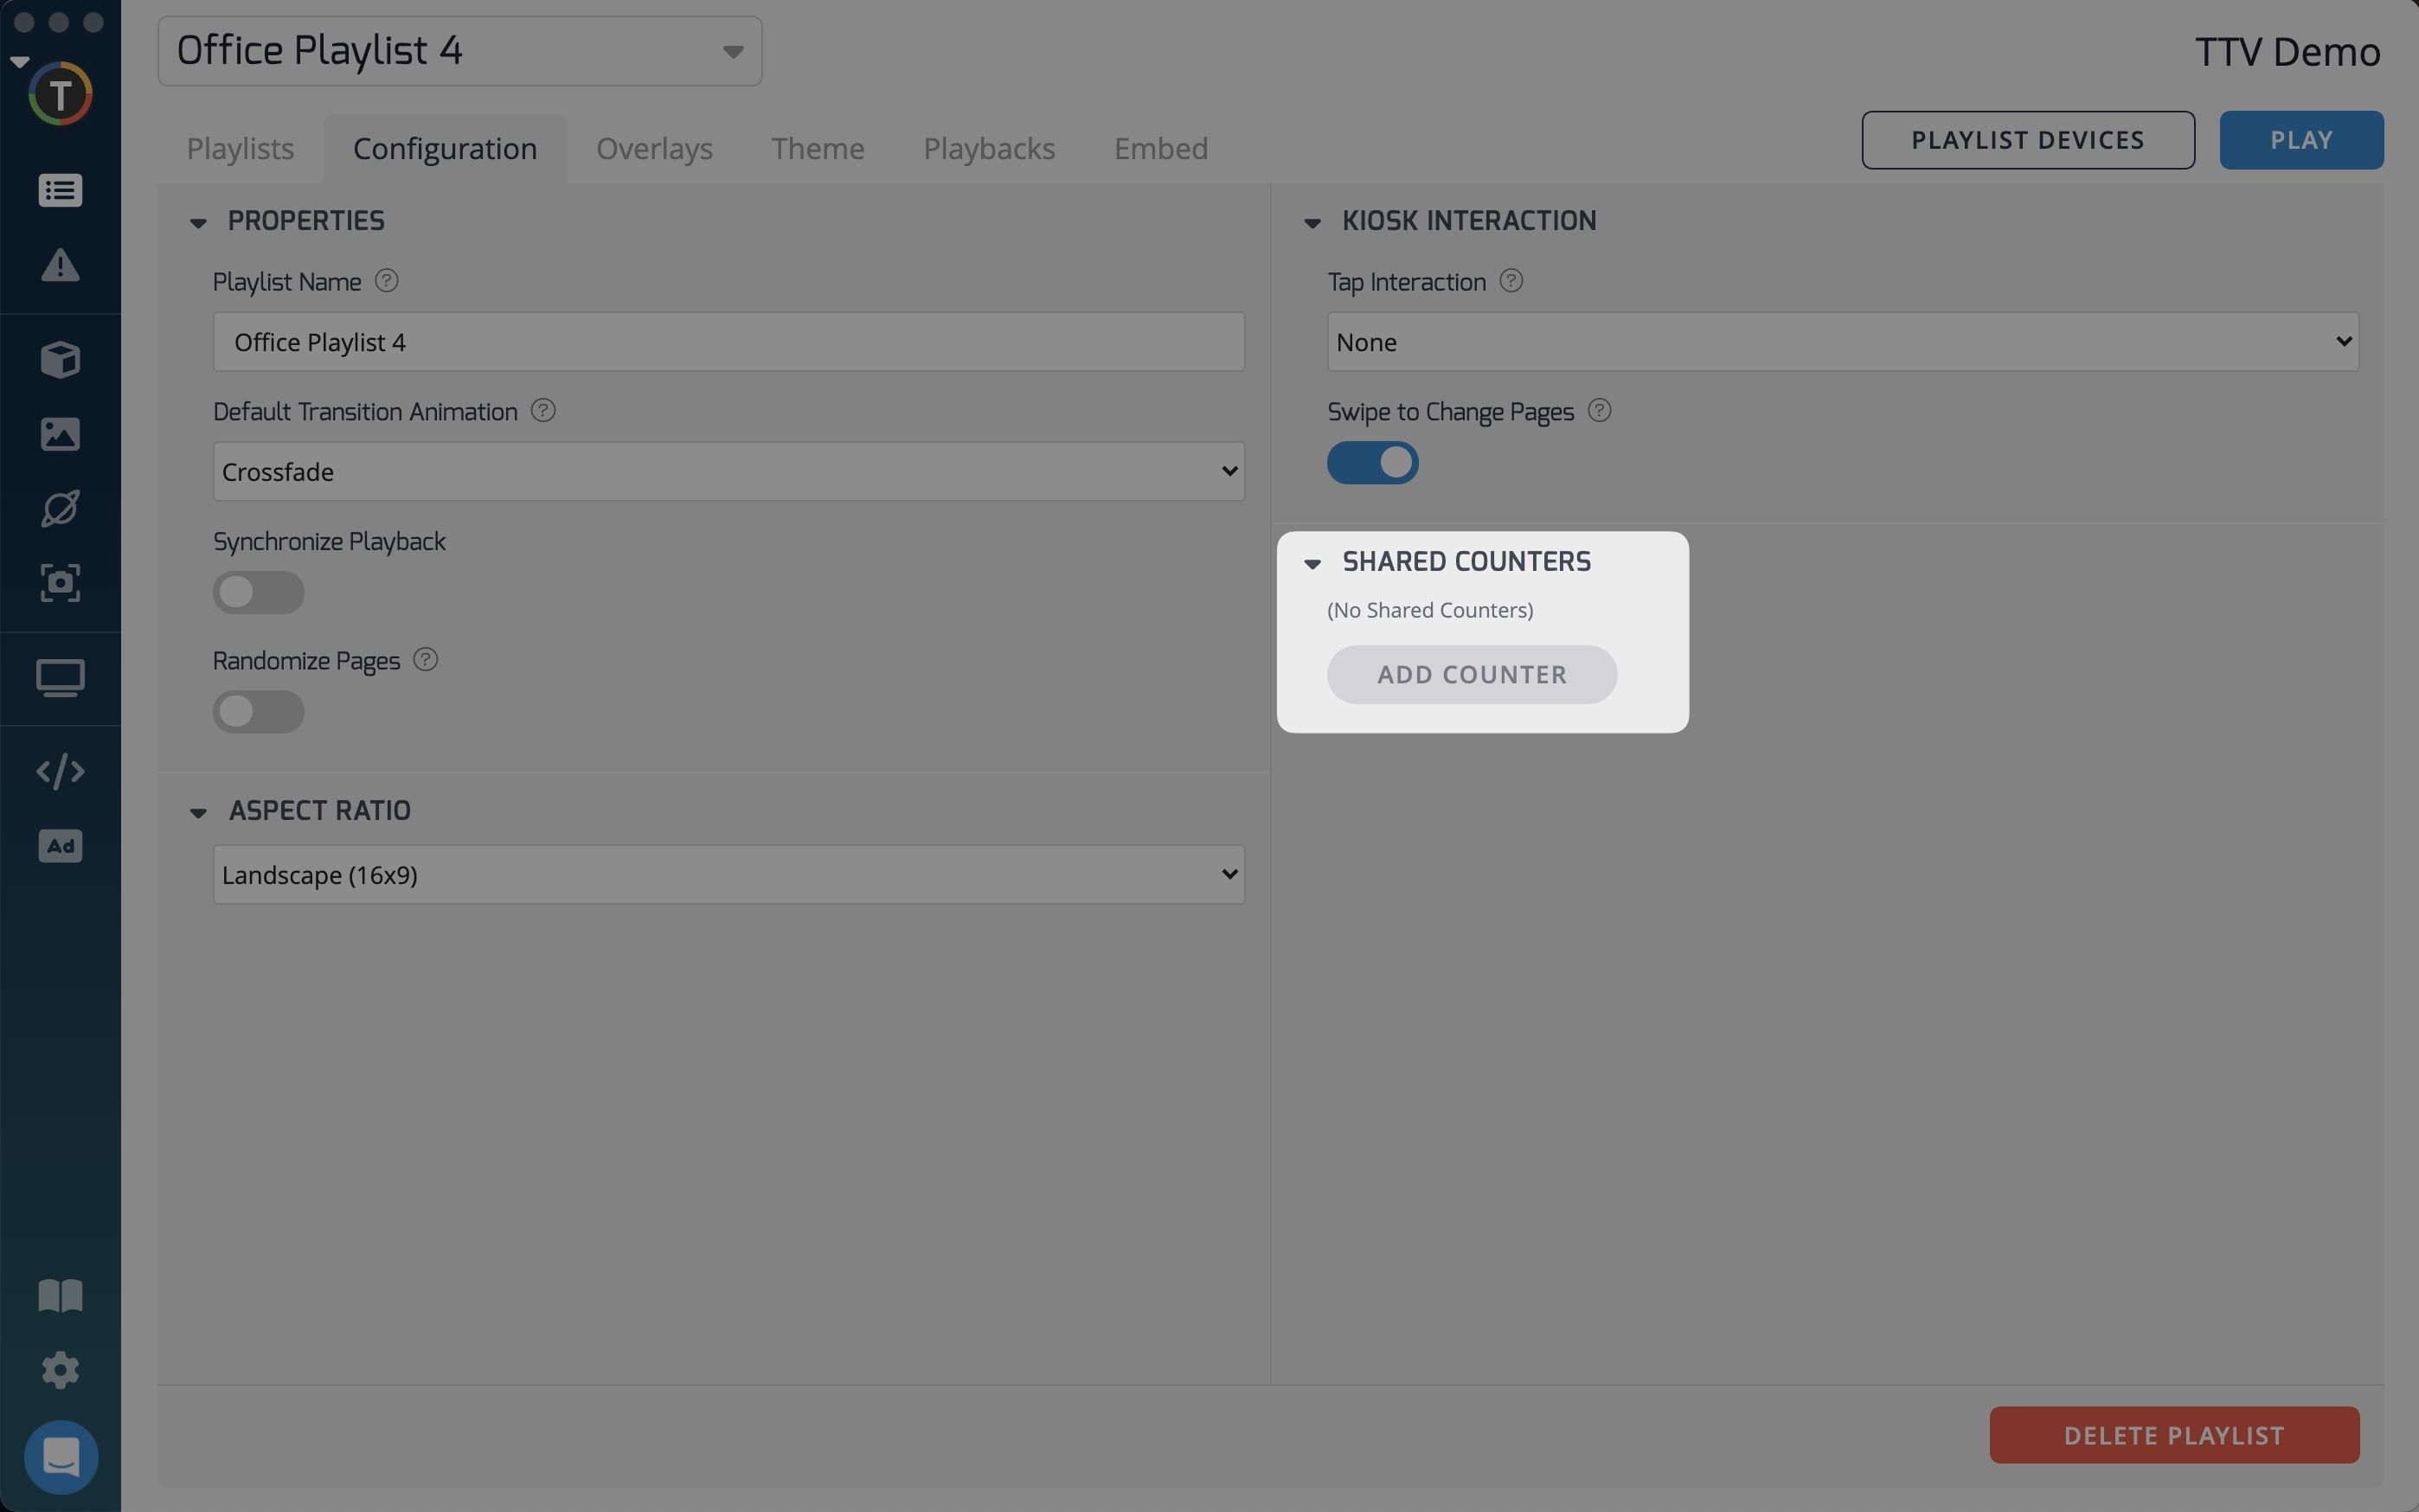
Shared Counter: Modify the playback order of playlist pages based on a shared counter time period. Pages with the same counter will appear in a specific sequence according to the defined time interval.
Automatically Remove Page: Remove unshared apps or media from your database once the scheduled date has expired.
If no scheduling options are selected, the playlist page will play as normal.

Using Icons to Identify Pages
To easily identify scheduled pages, look for the calendar or clock icon on the page when scrolling through your page menu. The calendar icon indicates day-specific scheduling, while the clock icon indicates time-specific scheduling.
How the Scheduling Feature Works
Please note that scheduling a page for a certain time does not cause it to start at that exact time/date. When you schedule a page, you define a time period during which it can be displayed. Your playlist will cycle through pages in the order they are set and check if a certain page is allowed to play when it reaches that point in the sequence.
For example, let's say you have a playlist with four pages, each lasting 60 seconds. You have a fifth page scheduled from 08:00 to 08:01. If at 8:00, Page 1 is playing, the player will not reach Page 5 until 08:02 (after cycling through Pages 1, 2, 3, and 4). In this case, the player will not play Page 5 as it is not scheduled to allow playback at 08:02.
You can schedule multiple pages for specific days or set multiple pages to play within a specific time frame. However, they will not all start at the same time
Scheduling Multiple Pages or an Entire Playlist
To schedule multiple pages or an entire playlist, follow these steps:
- Hold down the command/ctrl key (Mac/Windows) and click on each page you want to schedule. To select the entire playlist, click the first page, hold down shift, scroll down, and click the last page.
- Make sure the toolbar indicates "Multiple Pages," then open the scheduling tab.
- Select your desired scheduling options.
Assigning Default Pages
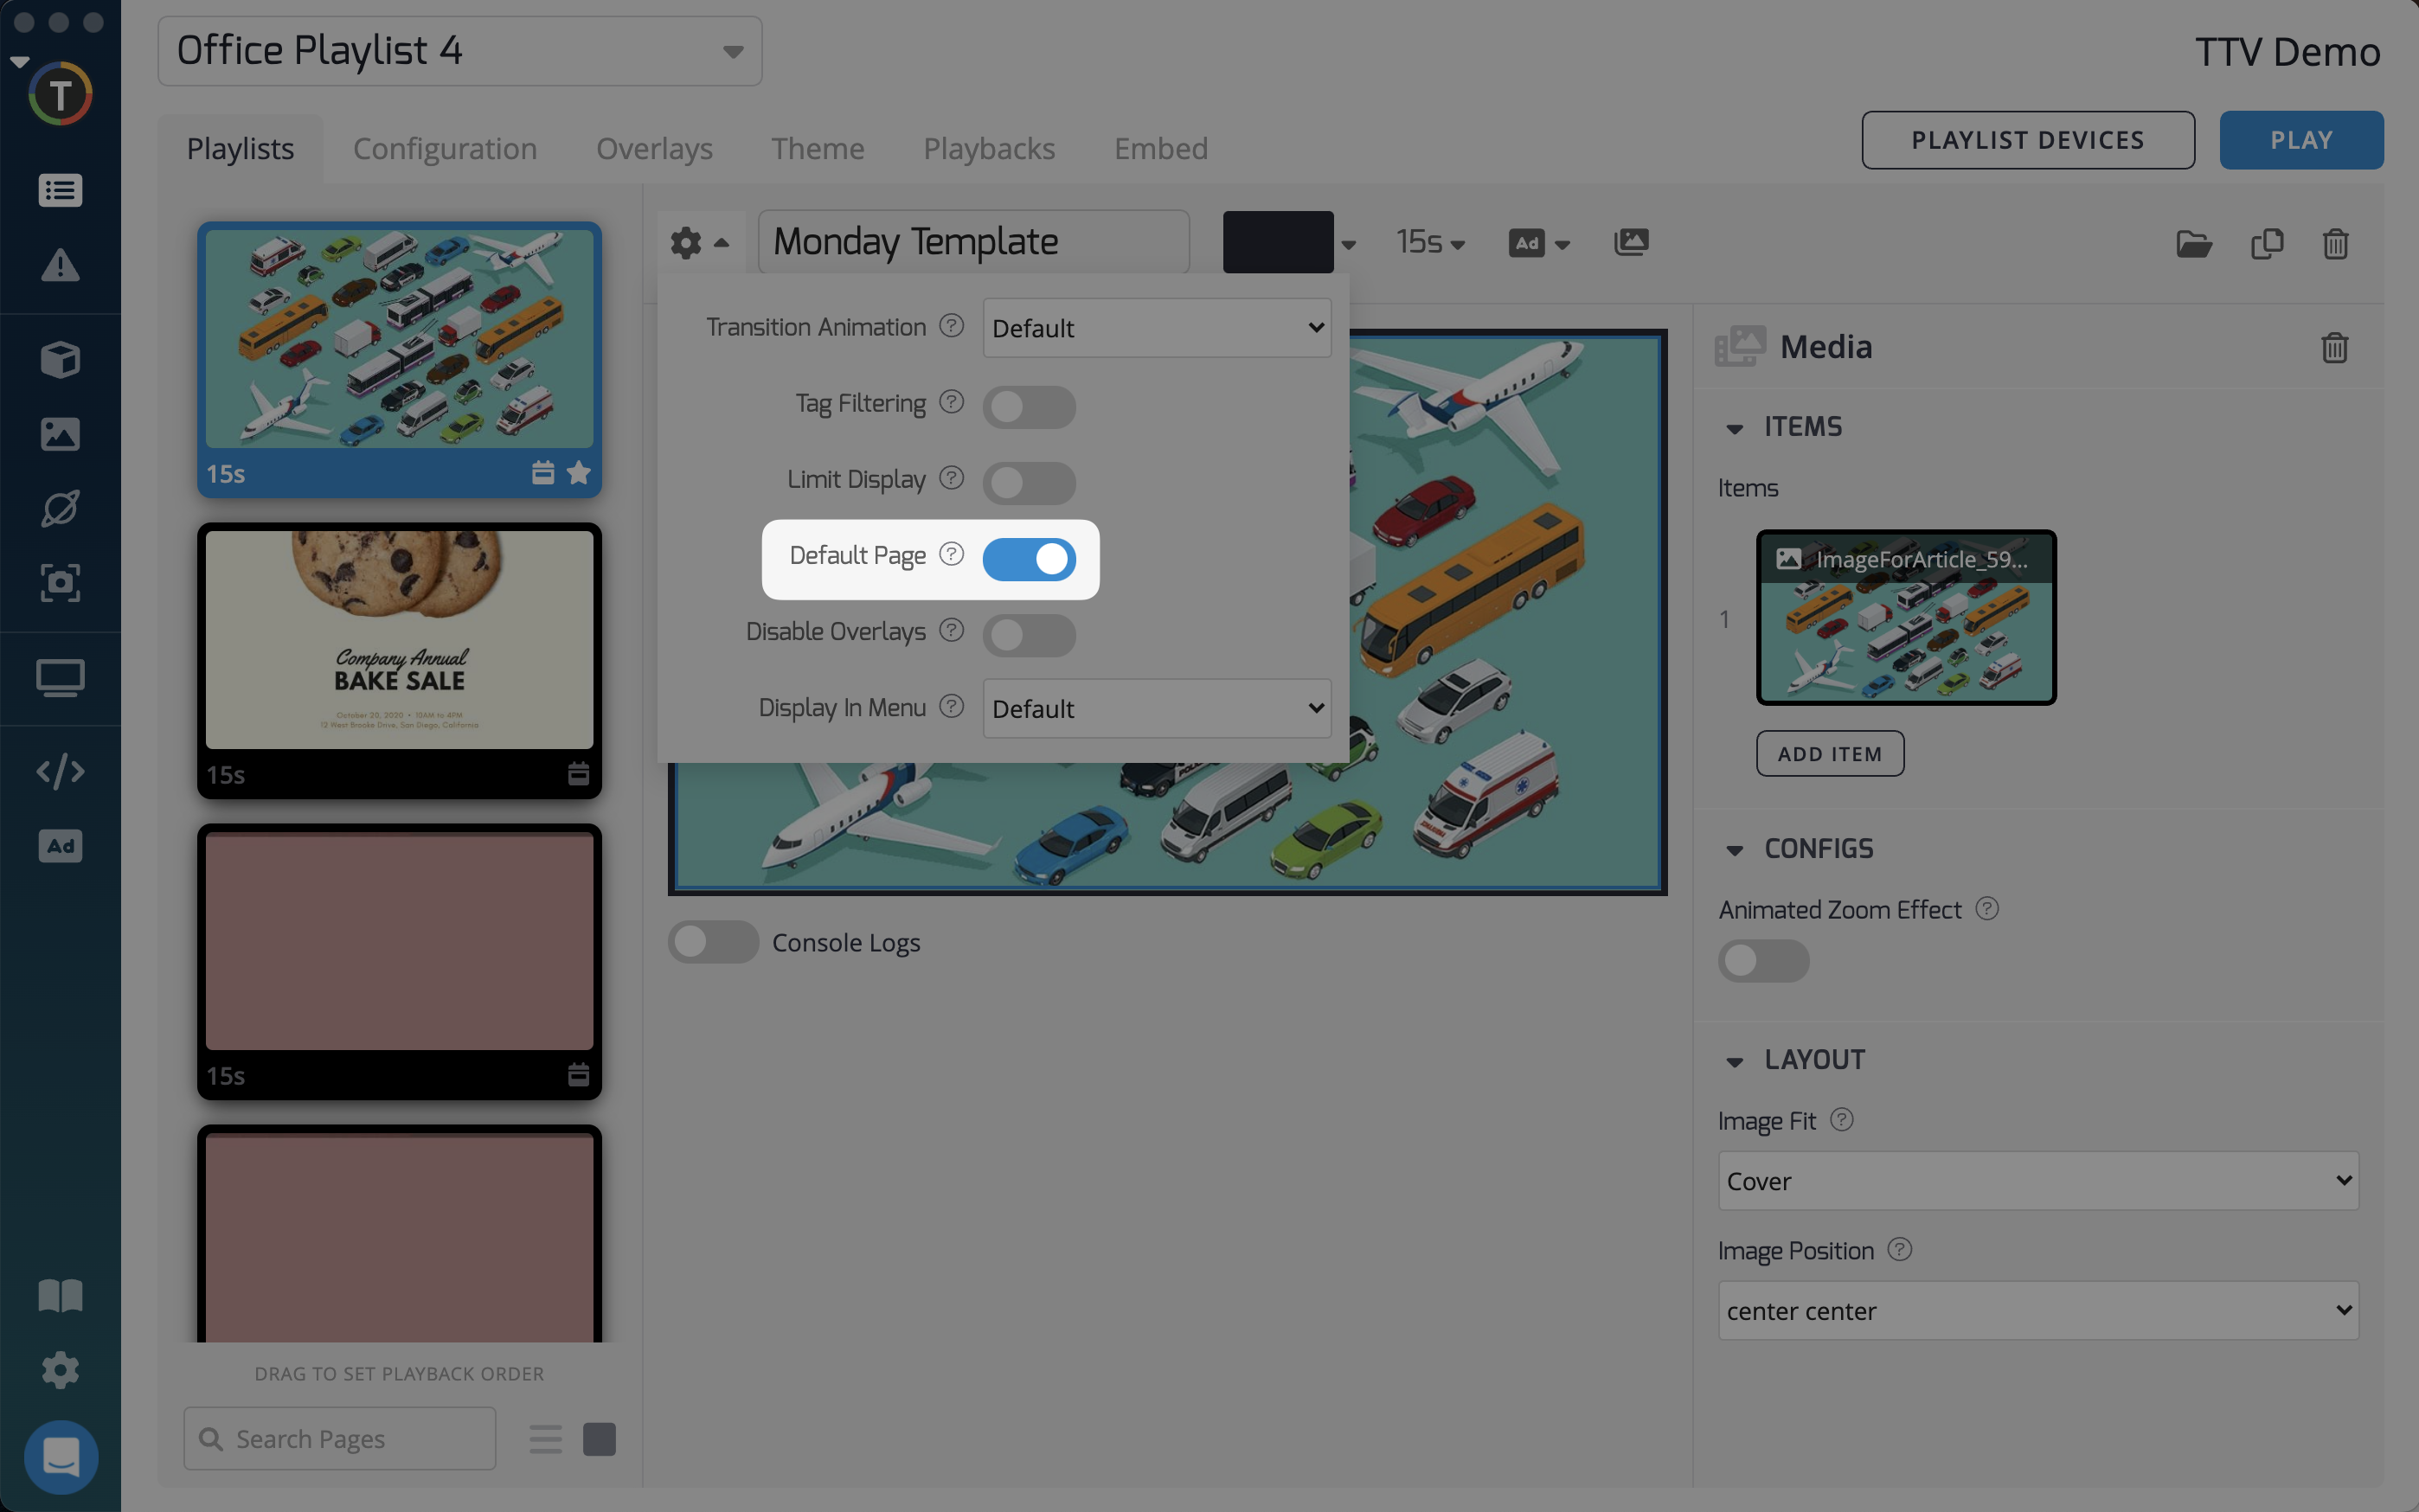
To avoid the "Pages Filtered" message when scheduling an entire playlist, set one playlist page as the "Default Page." This ensures that something is always visible. Alternatively, ensure all days of the week and hours are accounted for in your scheduling options to avoid this message.
Device Scheduling
You can also schedule entire playlists at the device level. Here's how:
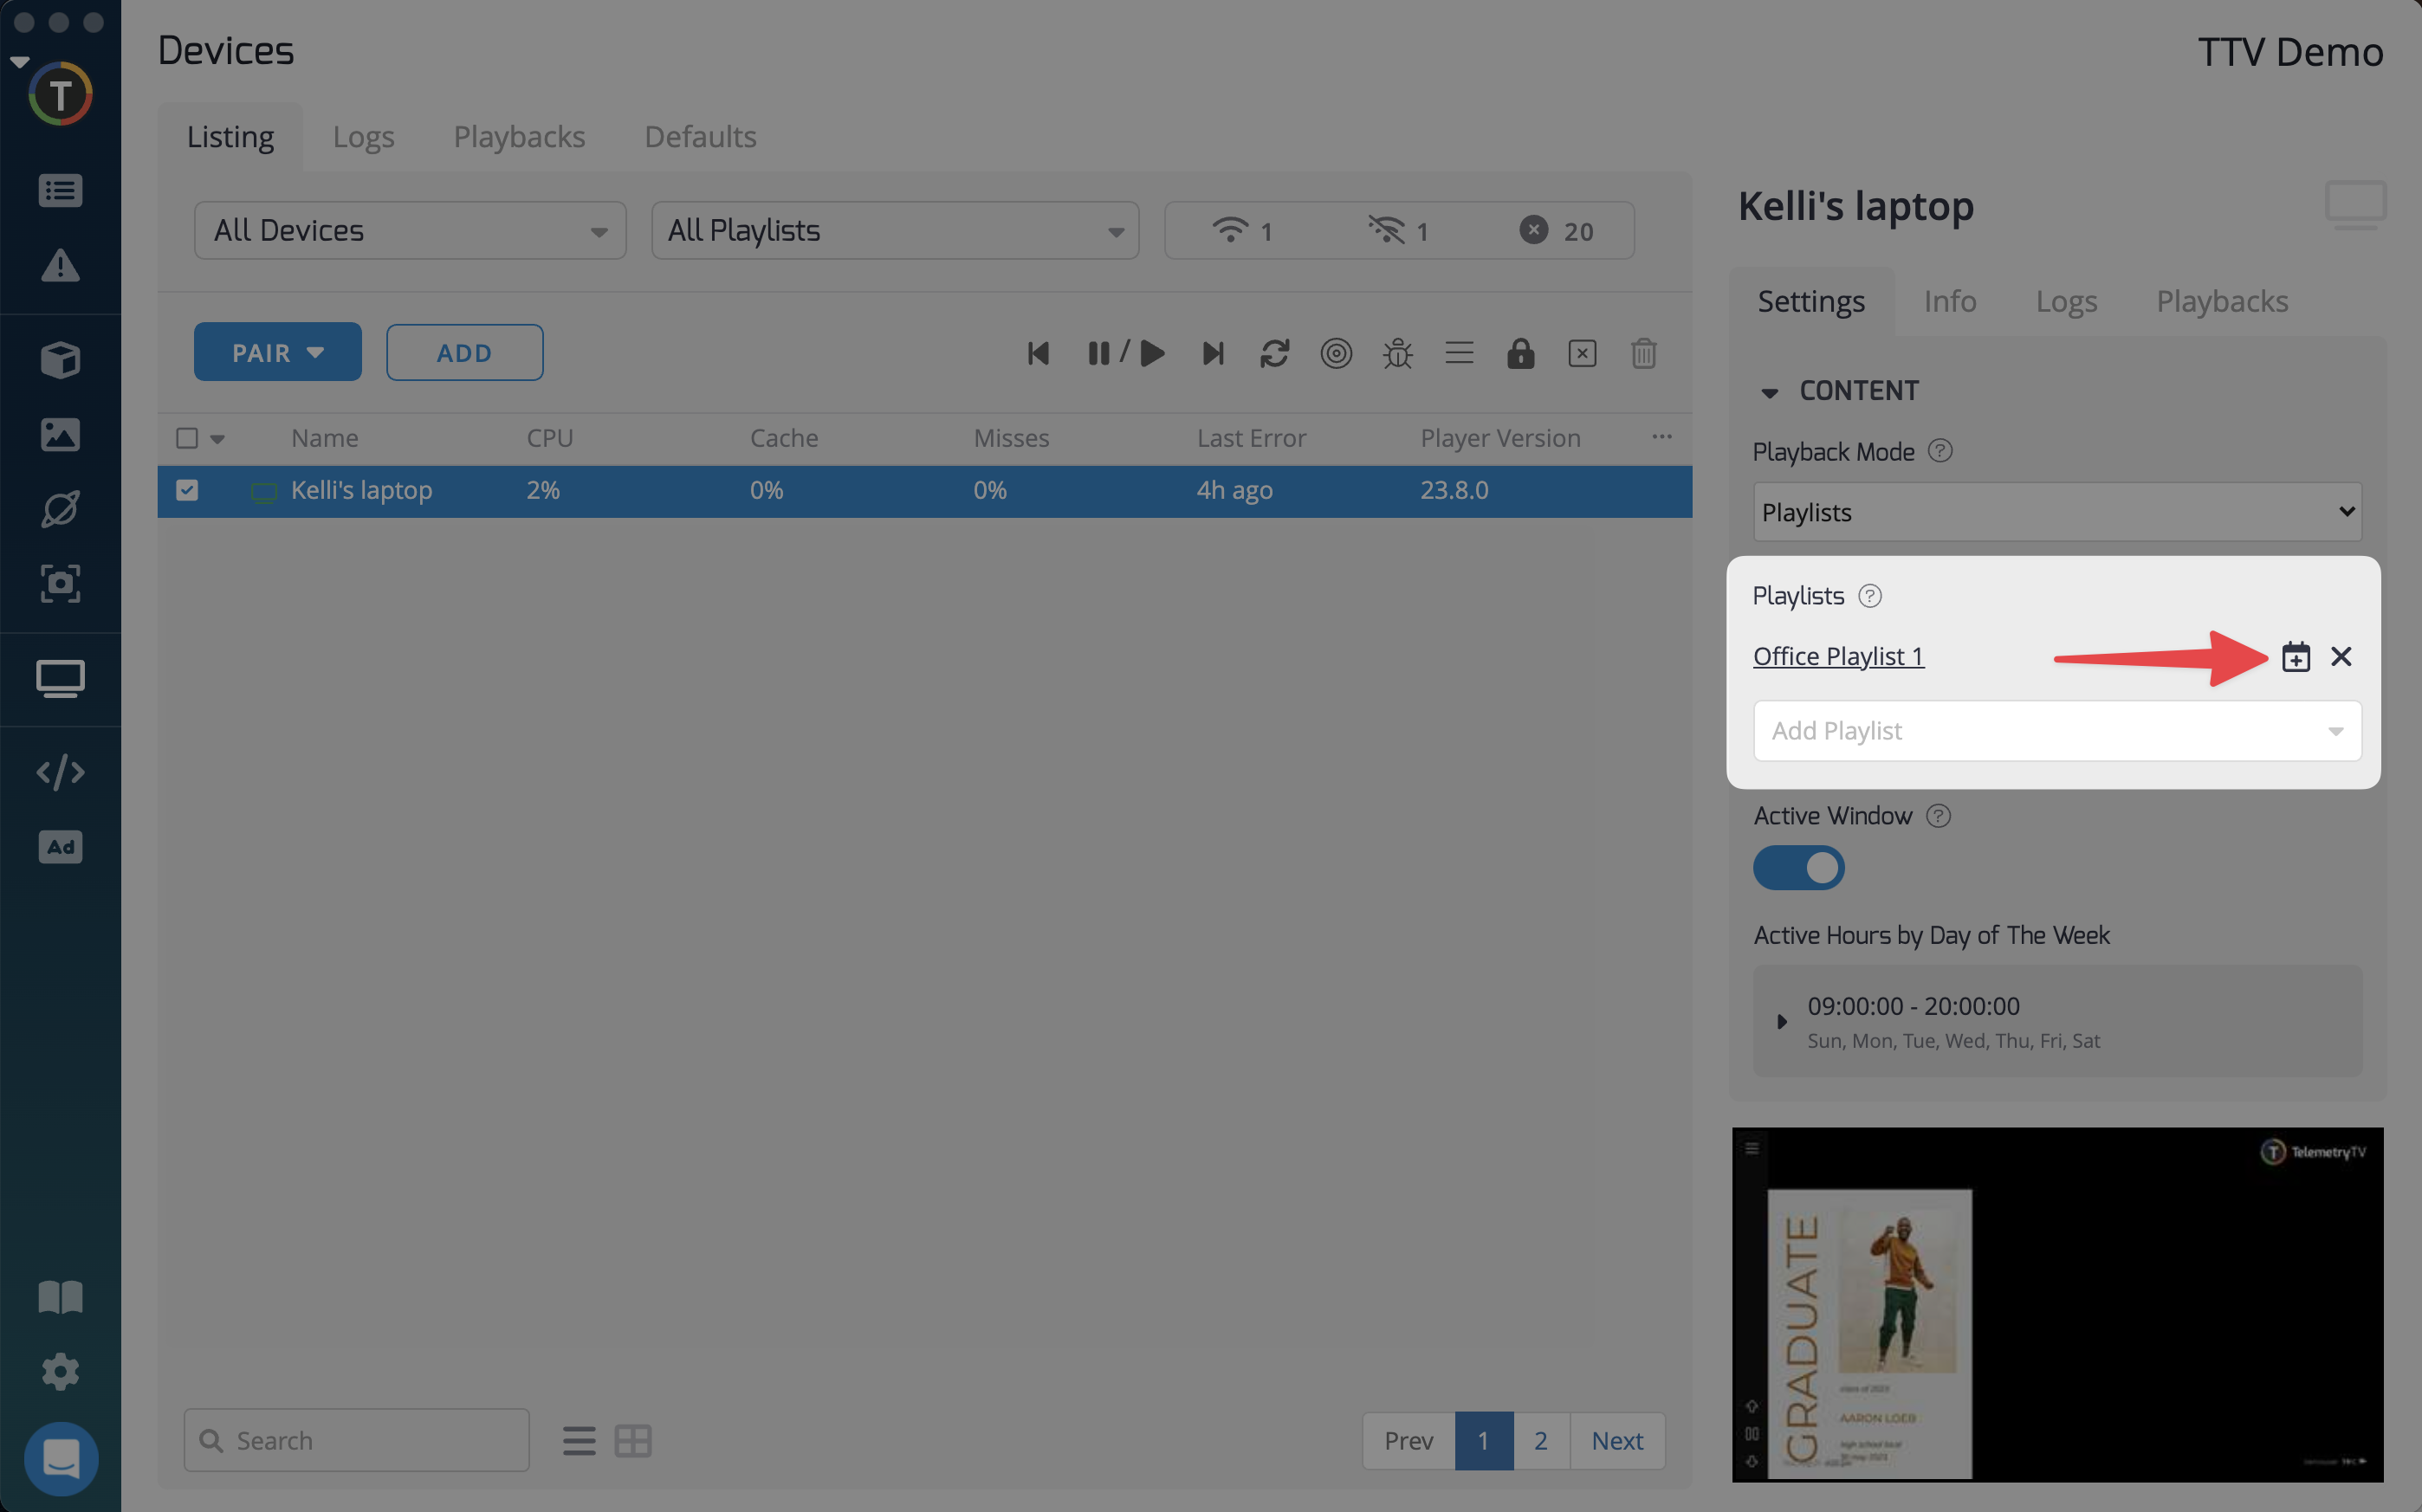
- Navigate to 'Devices' on the left sidebar.
- Click the scheduling icon under 'Playlists' in your device settings.
- Set scheduling rules for playlists assigned to this device.
Media Expiry Date/Schedule
The media expiry feature allows you to add scheduling rules for specific media files within a media folder. By setting an expiry date, you can automatically remove time-sensitive media content from your media folder and account, keeping your media folders clean and up to date.
To set an expiry date for a media file:
- In your media folder, locate the desired media file.
- In the right-hand column, enter the date on which you want the media to expire from your media folder and account.
Using Overrides for Specific Periods of Time
To have a page take over the screen for a specific period of time, you can use Overrides. This feature allows you to pause other assigned playlists and display a specific piece of content for a designated time.
Adding Recurring Scheduling Options for Pages
To add a recurring scheduling option for pages within a playlist, follow these steps:
- Go to the playlist.
- In the scheduling tab, select the day of the week.
- Choose the desired period from 1 to 6, representing each week's options.
These options allow you to set pages to play on specific days of the week in their designated order.
By following these steps, you can effectively schedule playlists and playlist pages in TelemetryTV, ensuring your content is displayed at the right time and on the right days.
Updated 7 months ago