
Video Walls
A step-by-step guide to setting up your digital signage video wall with TelemetryTV
TelemetryTV natively supports video walls, enabling you to innovate and engage with a variety of implementation strategies.
For Advanced Video Wall Setups, Consult a Specialist
TelemetryTV's software can seamlessly integrate with video walls of any size, provided the hardware can run a single app across multiple screens and supports the device's operating system. However, due to the diverse array of video wall setups, we're unable to assist with troubleshooting. Please consult an AV specialist or your hardware reseller for setup queries or issues.
Recommended Devices
The choice of resolution with TelemetryTV is entirely up to you, with the only limitation being your hardware and displays. The better your hardware, the higher the definition of your digital signage video walls.
The device suitable for your video wall will depend on the number of screens you intend to use:
- You can use an TelemetryOS Box to power a two screen video wall.
- Intel NUC with a display port video output is an excellent choice for a video wall of 3 or 4 screens.
- You must use a video matrix device for more than 4 screens.
Choosing Suitable Products
Selecting a device, screens, and a setup method for your video wall can be technical and complex. We recommend contacting a technology reseller who can help you choose suitable products for your desired video wall size and offer setup recommendations. Ensure that your device supports the TelemetryTV Media Player App. Click here to view a list of our supported device types.
Display Implementation Methods
Below, we elaborate on three different methods you can adopt to implement your video wall signage:
- Native
- Daisy Chaining
- Matrix
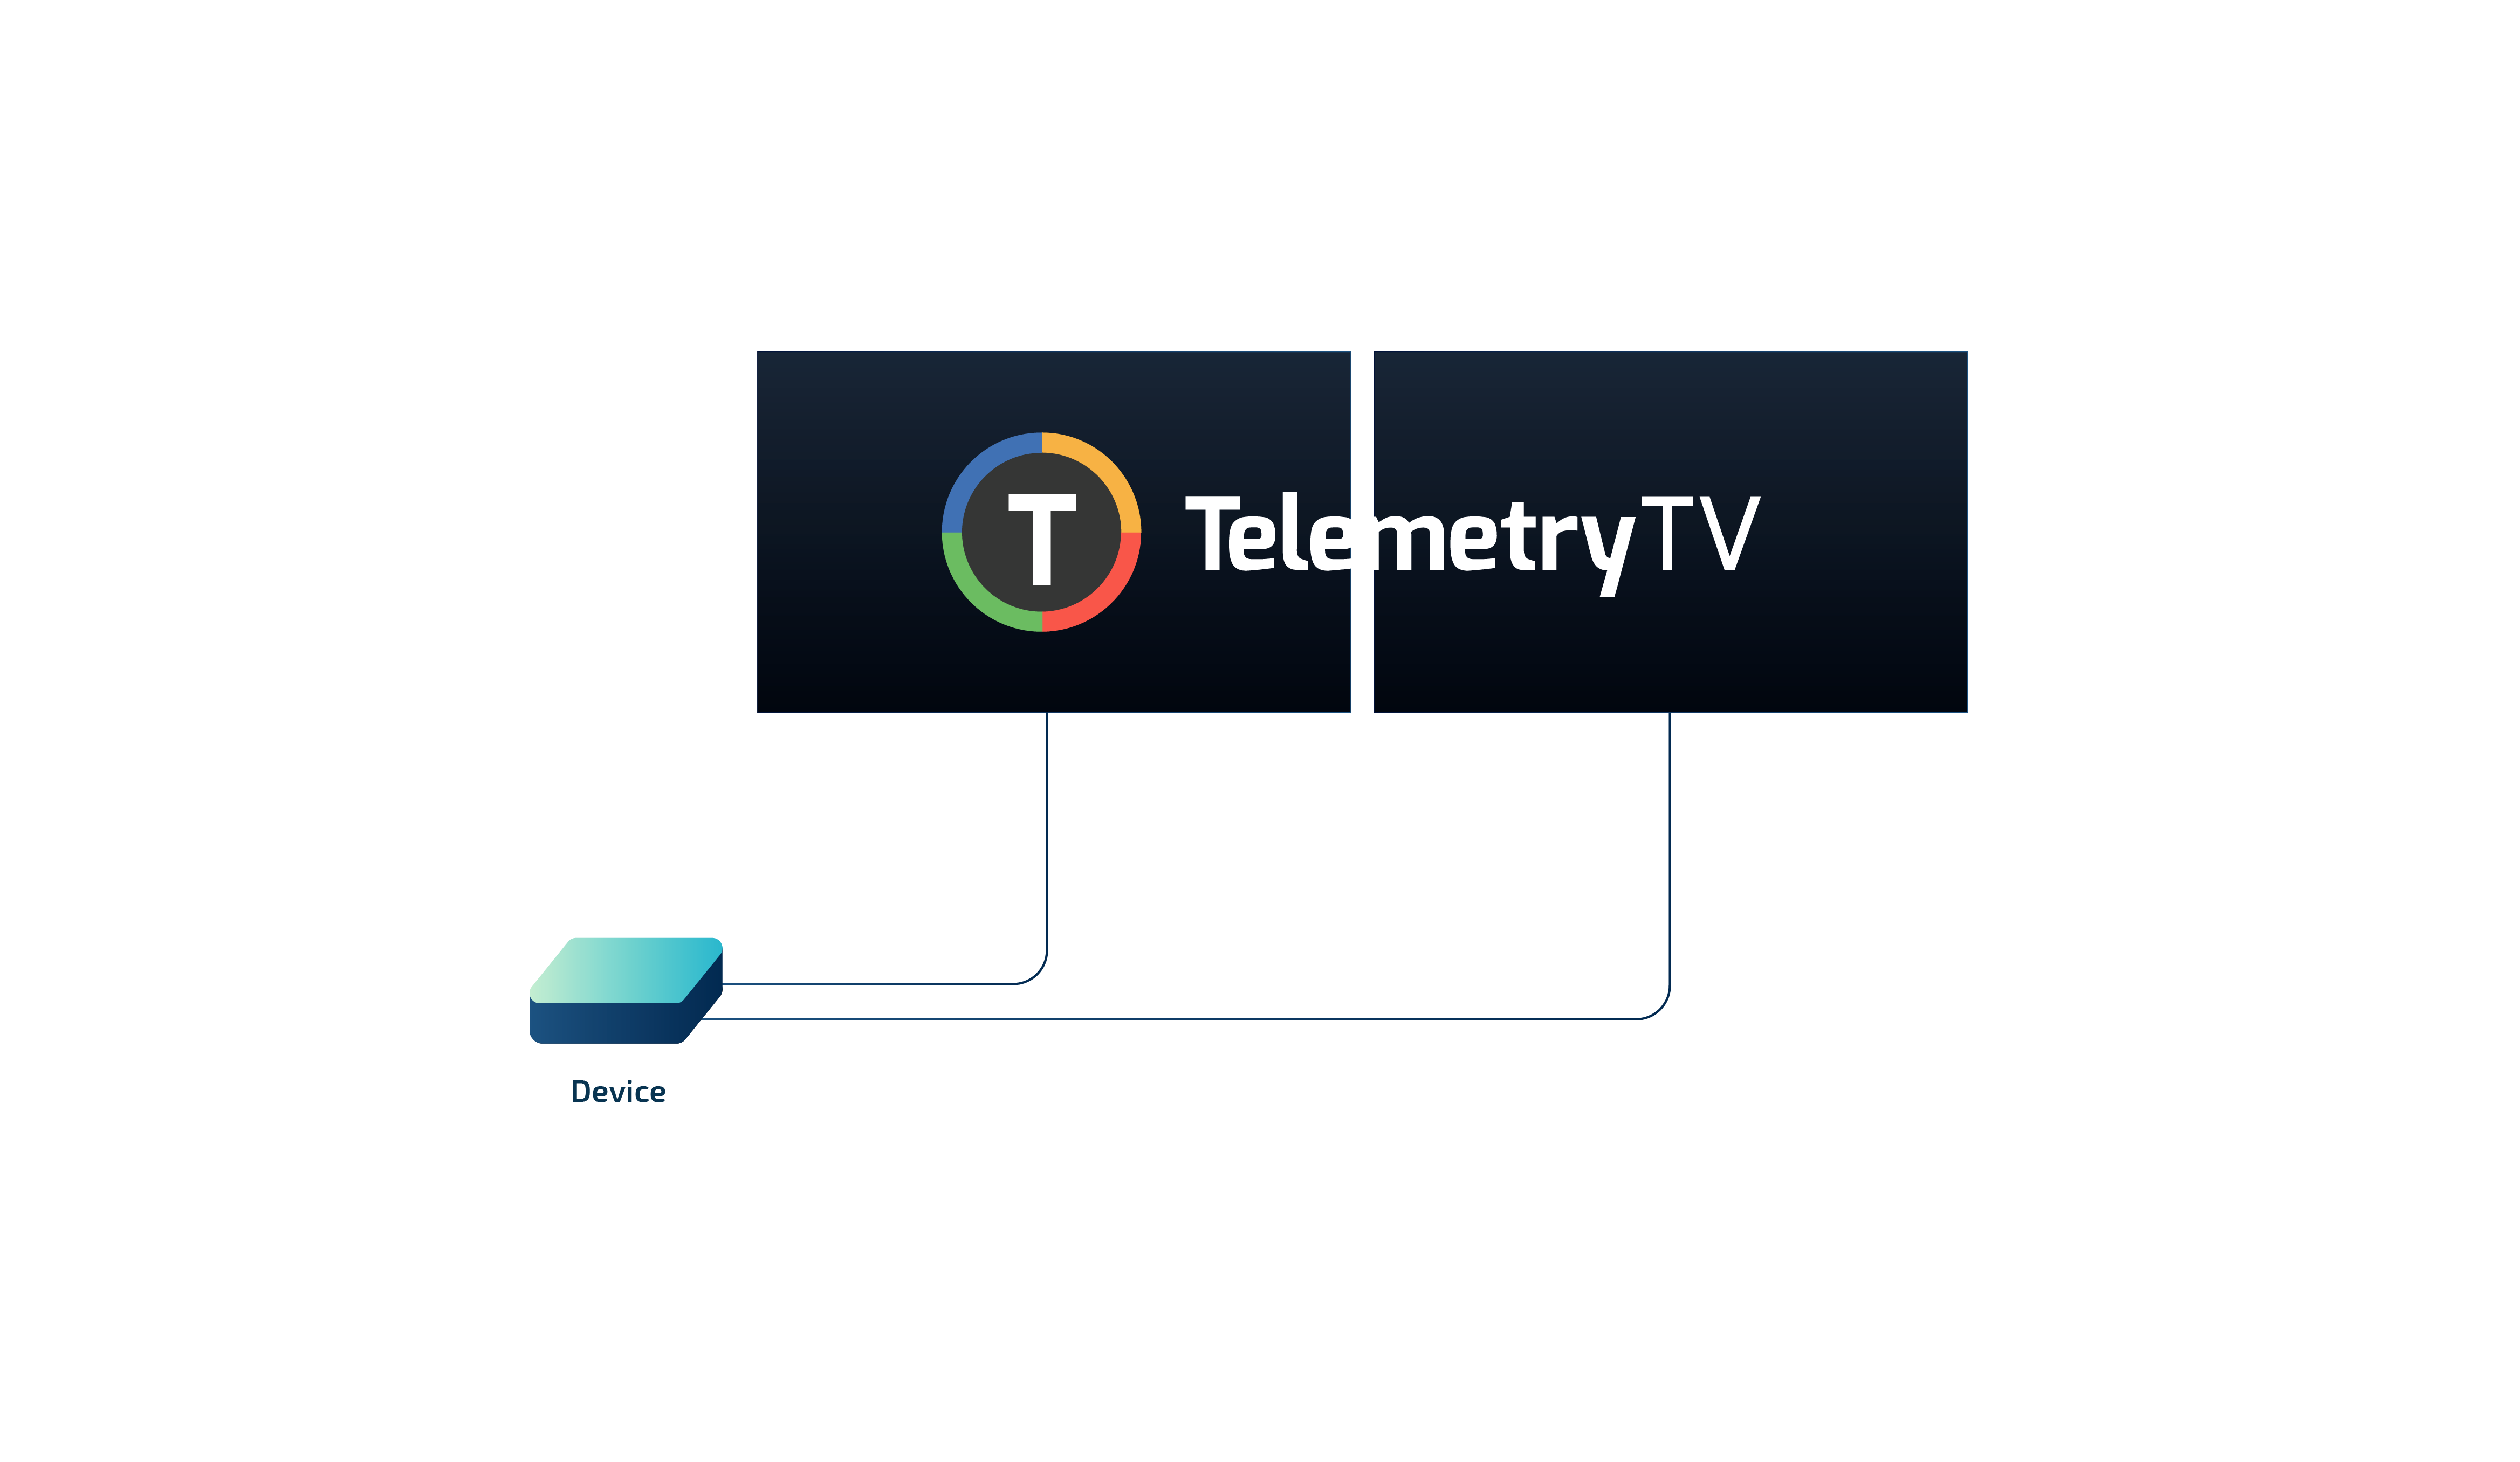
Native
The Native setup utilizes a direct signal from your device to your display monitors.
For this setup, you need a compatible device and multiple HDMI cables (based on the number of screens). Connect each HDMI cable from the device to each display screen.
Next, you'll have to configure your device to recognize the display layout. The instructions may vary depending on your operating system, so refer to your device's guide. Typically, this can be accomplished in the device's Display Settings.
The emitted signal resolution must be several times the resolution capacity of each screen to display in full resolution. For instance, to maintain a 1080p resolution across 2 screens, you would need a 4k signal. As the number of display screens increases on the video wall, the device must drive a significant amount of pixels.
Due to this limitation, we recommend using the Native method for video walls of up to 3 screens.
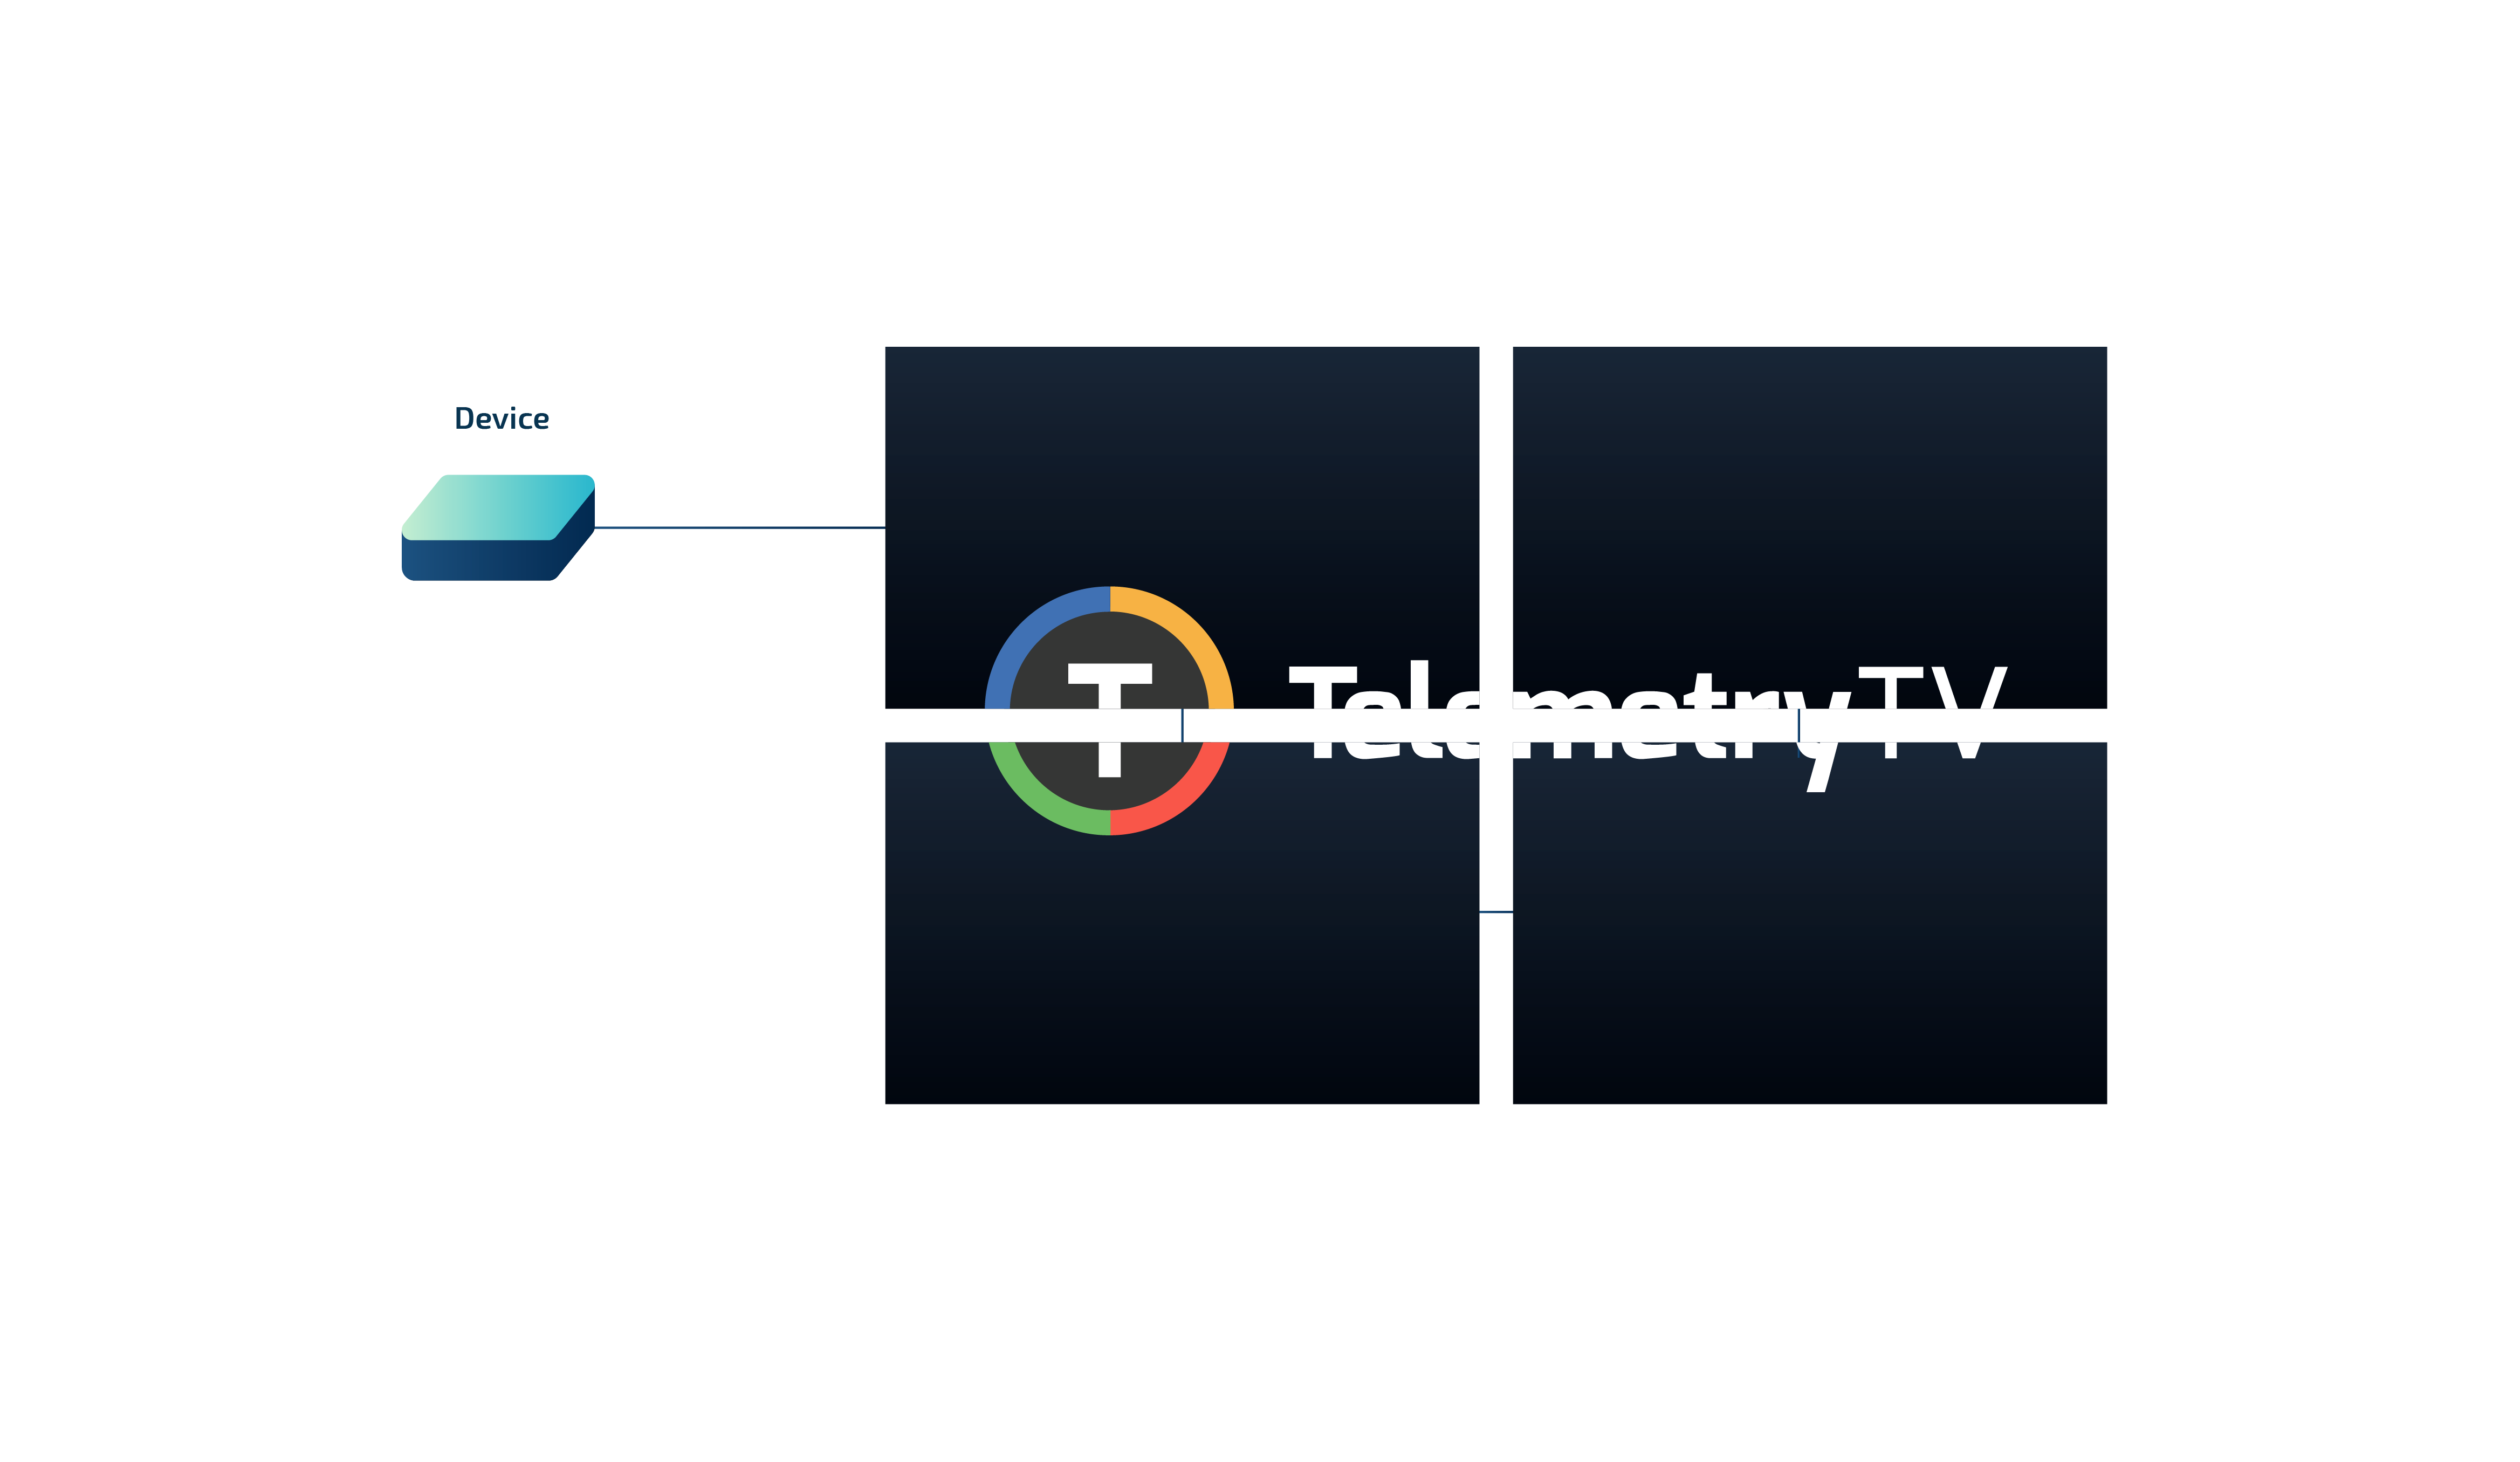
Daisy Chaining
"Daisy Chaining" refers to the method of connecting a series of display monitors to a single device in a sequential manner.
The signal is transmitted from the device to the first display monitor, and then from the first monitor to the second, and so forth. This method is typically only available on Professional Display devices, which are more expensive than standard display monitors.
To set this up, you'll need a compatible device, displays that can utilize the Daisy Chaining technique, and cables to connect them. As connection types can vary based on displays, we recommend consulting your display vendor when purchasing your hardware to ensure you have the right equipment!
Daisy Chaining may require less hardware, such as a Matrix or Video Wall Processor (see 'Matrix' setup below), but it's important to note that Professional displays with Daisy Chain capabilities are often considerably more expensive than standard displays.
Matrix
A 'Matrix' setup refers to a display that uses a Video Wall Processor to distribute a single signal from your device to multiple display monitors. Please visit our guide on setting up Video Matrixes for more information
Video Wall Configuration Guide
In this guide, you'll learn:
- How to determine your video wall's aspect ratio
- How to set your playlist's aspect ratio to create content for your customized digital signage video wall
- How to utilize Playlist Zones to allocate your content onto different screens in your video wall
Aspect Ratio
To prepare your playlist for your video wall, you'll need to figure out the aspect ratio of your digital signage video wall. The aspect ratio defines the relative width and height of your video wall layout. The aspect ratio of a standard display screen is 16:9. If you rotate your display vertically (portrait orientation), the aspect ratio becomes 9:16.
To determine the aspect ratio for your video wall, you'll have to multiply the standard 16:9 aspect ratio. For clarity, let's examine some examples of common video wall layouts and their respective aspect ratios:
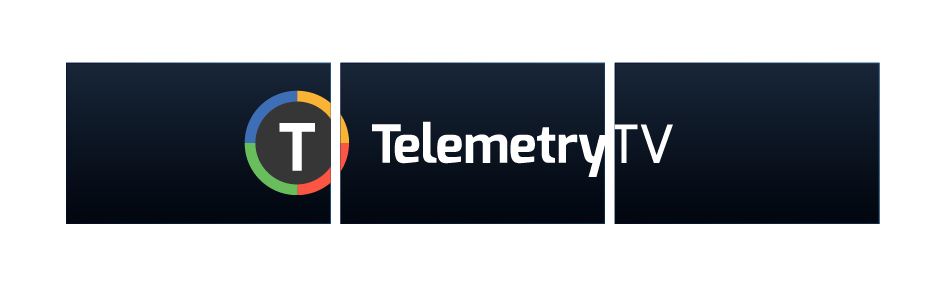
- A 1 x 2 video wall has an aspect ratio of 32:9.

- A 1 x 3 video wall has an aspect ratio of 48:9.
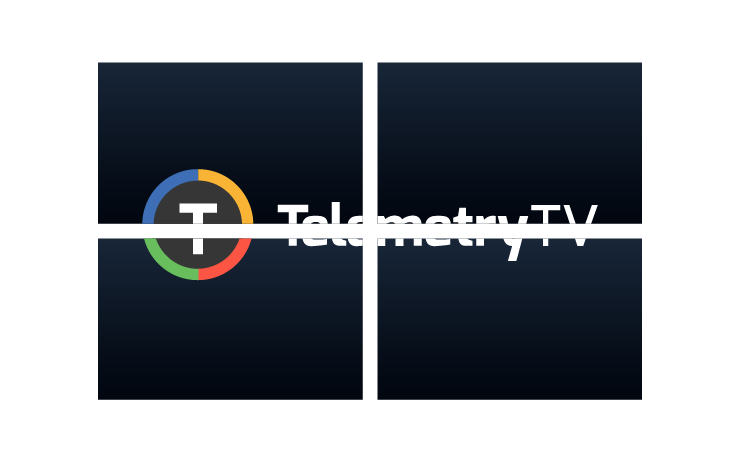
- A 2 x 2 video wall retains the aspect ratio of 16:9.
- A 1 x 3 video wall with screens oriented vertically has an aspect ratio of 27:16.

Configuring your Playlist's Aspect Ratio
Once you've determined your digital signage video wall's aspect ratio, you'll need to set your playlist to match it.
Aspect Ratio Doesn't Change The Device Display
Please note that the aspect ratio set inside the playlist is a convienience feature only for the preview in the editor. It allows you to match the editor visually to the aspect ratio on the devices. It has NO IMPACT on what is shown on a device.
Follow these steps:
-
In your TelemetryTV account, navigate to the 'Playlists' section and open the playlist you'd like to use for your video wall (or create a new one).
-
Click the 'Configuration' tab at the top of the playlist editor.
-
Under 'Aspect Ratio', select the 'Custom' option and set the aspect ratio for your video wall. (If you're uncertain, please refer to the section above!)
-
Return to the 'Playlist' tab and you'll observe that the playlist page matches your video wall layout.
Now, it's time to unleash your creativity and start adding content to your video wall playlist.
Using Playlist Zones for Digital Signage Video Walls
TelemetryTV's Playlist Zones feature enables you to partition your playlist pages into separate sections and display multiple pieces of content on a single playlist page.
This feature is particularly handy for digital signage video walls. It allows you to divide your page into sections, enabling you to display different pieces of content on different screens in your video wall.
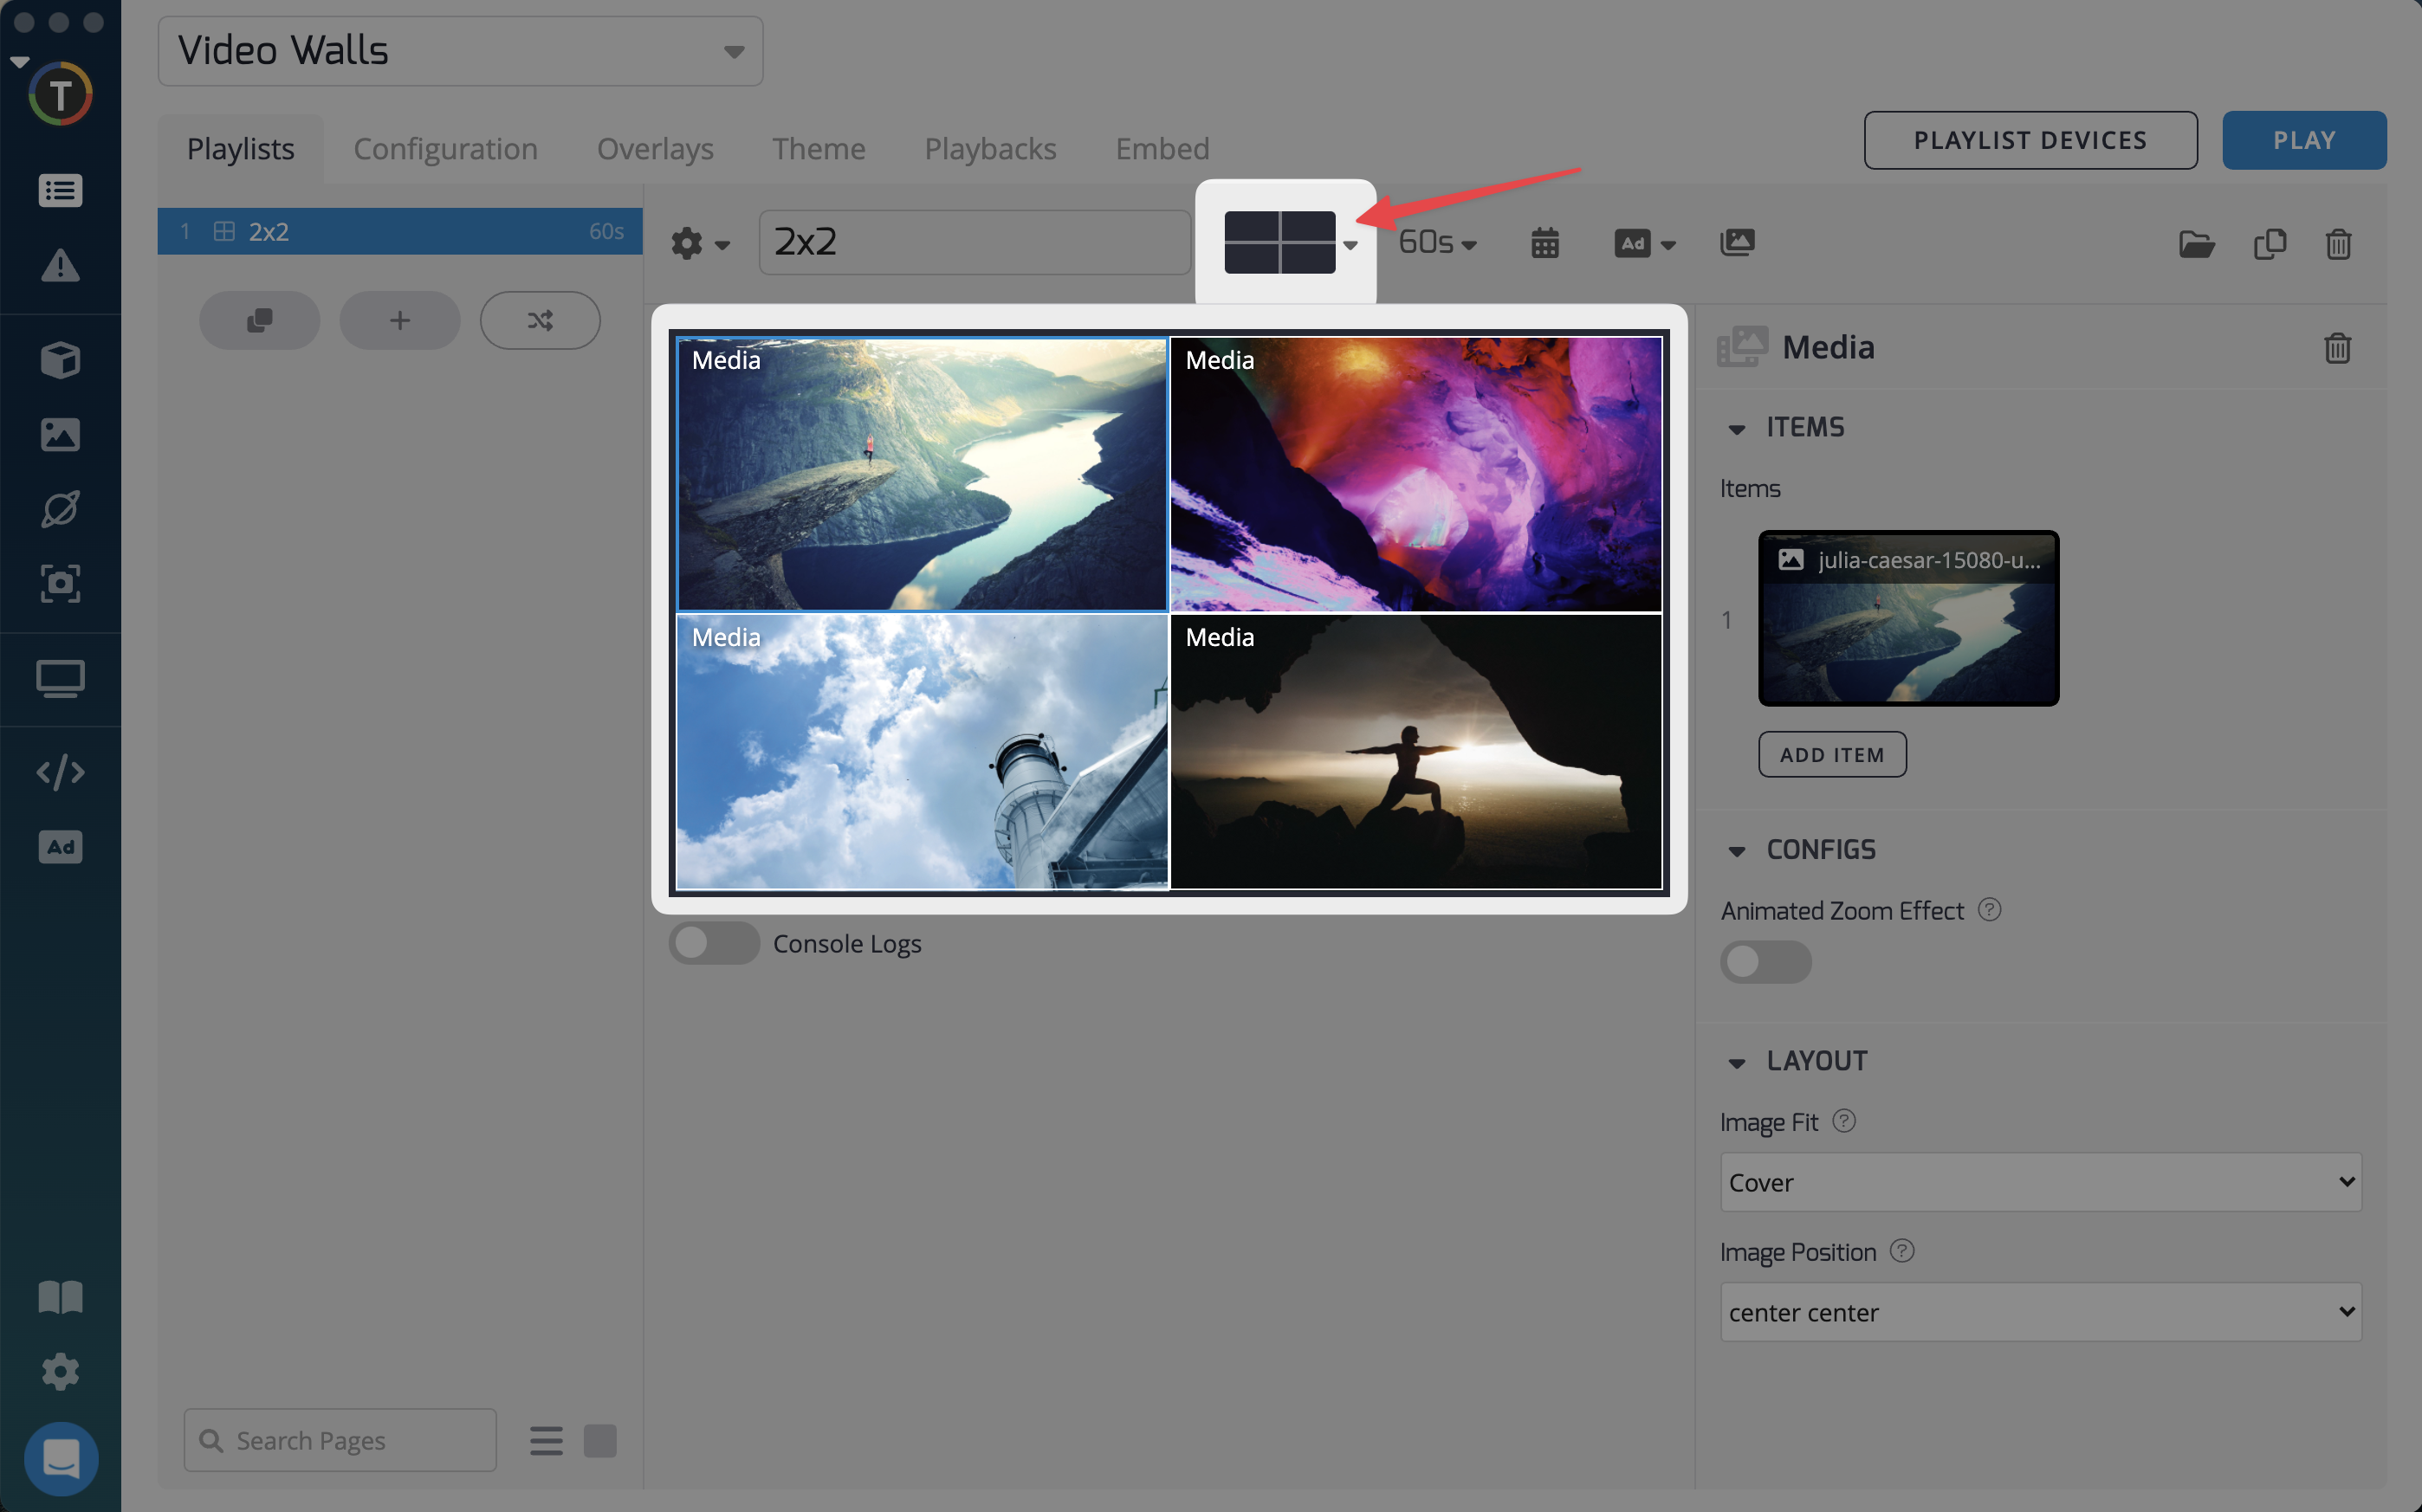
For instance, if your video wall layout is a 2x2 screen grid, you could use the following zone layout to display unique content on each screen:
Updated about 1 month ago