
Intel Compatible PCs
Learn how to install TelemetryOS on devices using Intel-based CPUs.
TelemetryOS
TelemetryOS is TelemetryTV's proprietary operating system designed for Intel-based devices. It was purpose built for digital signage, ensuring optimal performance and stability.
Requirements
You Must Test
We do not warrant that TelemetryOS will work on ANY hardware. It is based on Ubuntu and should be widely compatible. However you must test your particular hardware. TelemetryTV does not support troubleshooting on non certified hardware. Contact us to get your hardware certified and obtain support.
To install TelemetryOS, your device must meet the following criteria:
- Uses an Intel-based CPU architecture that supports Ubuntu 20.04 LTS. Contact your hardware vendor to inquire about Ubuntu compatibility.
- Contains a minimum of 4GB RAM and 32GB storage.
- Powered by at least a dual-core and a relatively recent CPU.
- Prioritize ethernet over WiFi for network stability. However, WiFi support is optional.
- Any existing data on the device will be wiped out as TelemetryOS will dedicate this device.
Additional Drivers
For concerns about additional drivers, TelemetryOS might not work as it is a locked-down operating system that doesn't support driver add-ons. We highly recommend the TelemetryOS Box a tested and proven reliable hardware platform.
Installation Steps
To install TelemetryOS on your device, please follow these steps:
Use a USB3 Drive
For the installation process, you will need a USB3 drive. Ensure it's a USB3 (not USB or USB2) drive of either 32GB or 64GB, for performance purposes. When installing, utilize the blue USB3 port on your computer. A USB3 drive allows for a quicker installation process.
1. Obtain TelemetryOS ISO:
Contact our support to obtain the ISO for TelemetryOS. We can help to first to ensure that you have a deployment plan that makes sense and will lead to success.
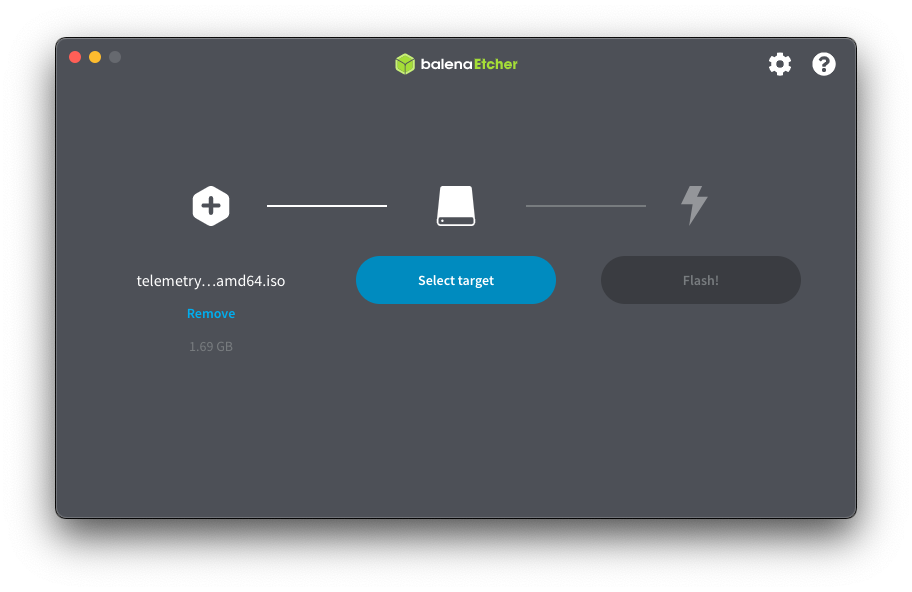
2. Download Balena Etcher:
Install Balena Etcher on your desktop, which you will use to 'burn' the ISO image to your USB3 Drive.
3. Burn ISO File:
Follow Balena Etcher's instructions to burn the ISO image onto your USB drive. After successful completion, remove the USB drive from your computer.
4. BIOS Generic Settings:
Plug in HDMI and keyboard into your device. Insert the USB key into the device's USB3 socket (blue socket). Turn on your device and press the Del or Esc button to enter BIOS settings. This may vary across devices.
- Set USB (if applicable) and Storage (if applicable) to UEFI only (no Legacy). These settings are usually located in the BIOS Advanced Menu under Compatibility Support Module (CSM).
- Set OS Selection to Linux. This option is typically found in the BIOS Chipset Menu.
- Configure the device to boot from USB first. This is usually in the BIOS Boot menu under Boot options. Prioritize UEFI: USB disk as the first boot option.
5. Boot Device from USB:
Power off the device on which you're installing TelemetryOS. Connect HDMI, but do not connect the ethernet network cable until TelemetryOS is fully installed. Insert the USB key into the USB3 socket (blue socket) and wait for the device to boot from the USB drive.
6. Install TelemetryOS:
Select "Install TelemetryTV OS" or simply wait for the installation to start automatically after 5 seconds. After the installation is complete (which may take several minutes), the device will shut down. Remove the USB key and connect the ethernet network cable (for wired devices).
7. Start up Device:
Power on the device and let it boot. When the configuration screen shows up, set up the WiFi or ethernet. Make sure the network status is active before proceeding. You can provision or complete the device to pair at this point.
Avoiding Corruption
Do not interrupt the device until it reaches the setup screen to avoid potential corruption.
Using an Ethernet Connection
If you're using an ethernet connection and not WiFi, the setup screen will auto-advance to the pairing screen after a 30-second timeout.
8. Complete: Your device is now ready for use!
Returning to Setup Screen
If you need to return to the setup screen, right-click to display the application menu, or press "ctrl-s" on an attached keyboard.
Updated 3 months ago